Quickstart for Raspberry Pi 4
This page guides you through the steps for creating a virtual Raspberry Pi 4 device with a stock firmware Raspberry Pi OS lite (11.2.0), and shows how to access its Linux command line interface.
Create your device
To create your virtual Raspberry Pi 4 device, do the following:
-
Log in to AVH with your Arm account at https://app.avh.corellium.com. If you do not have an Arm account you can register here.
-
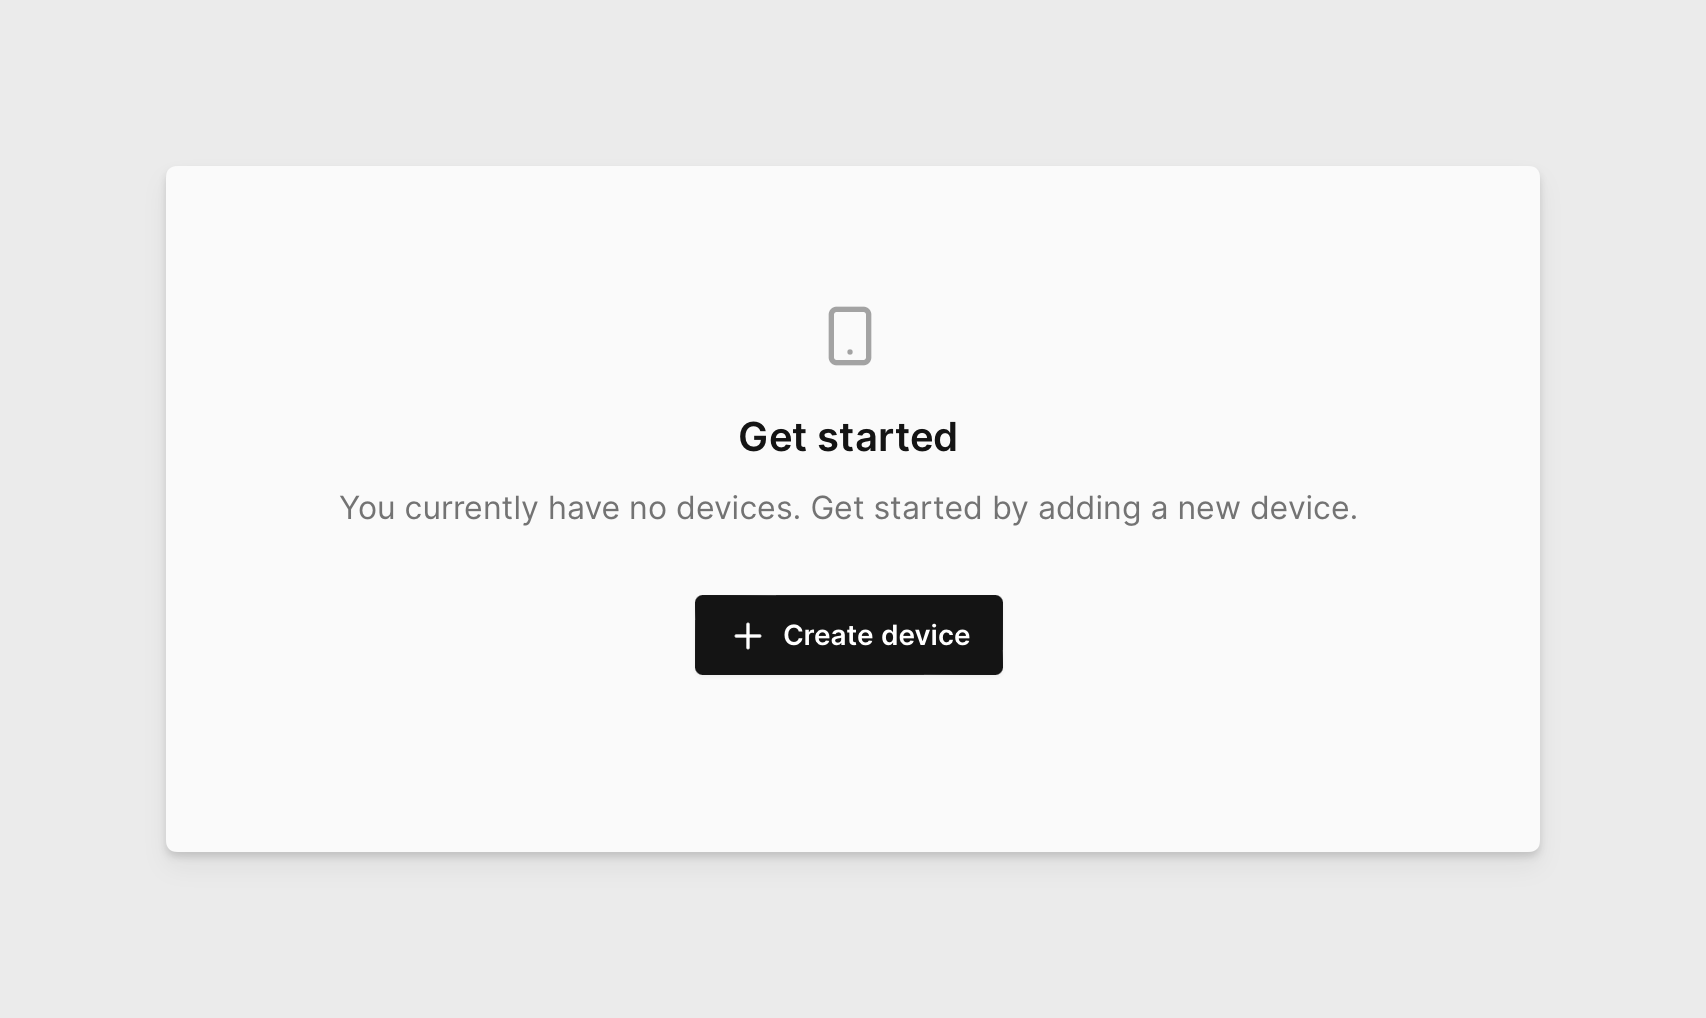
After login you should land on Devices page. There click CREATE DEVICE:
-
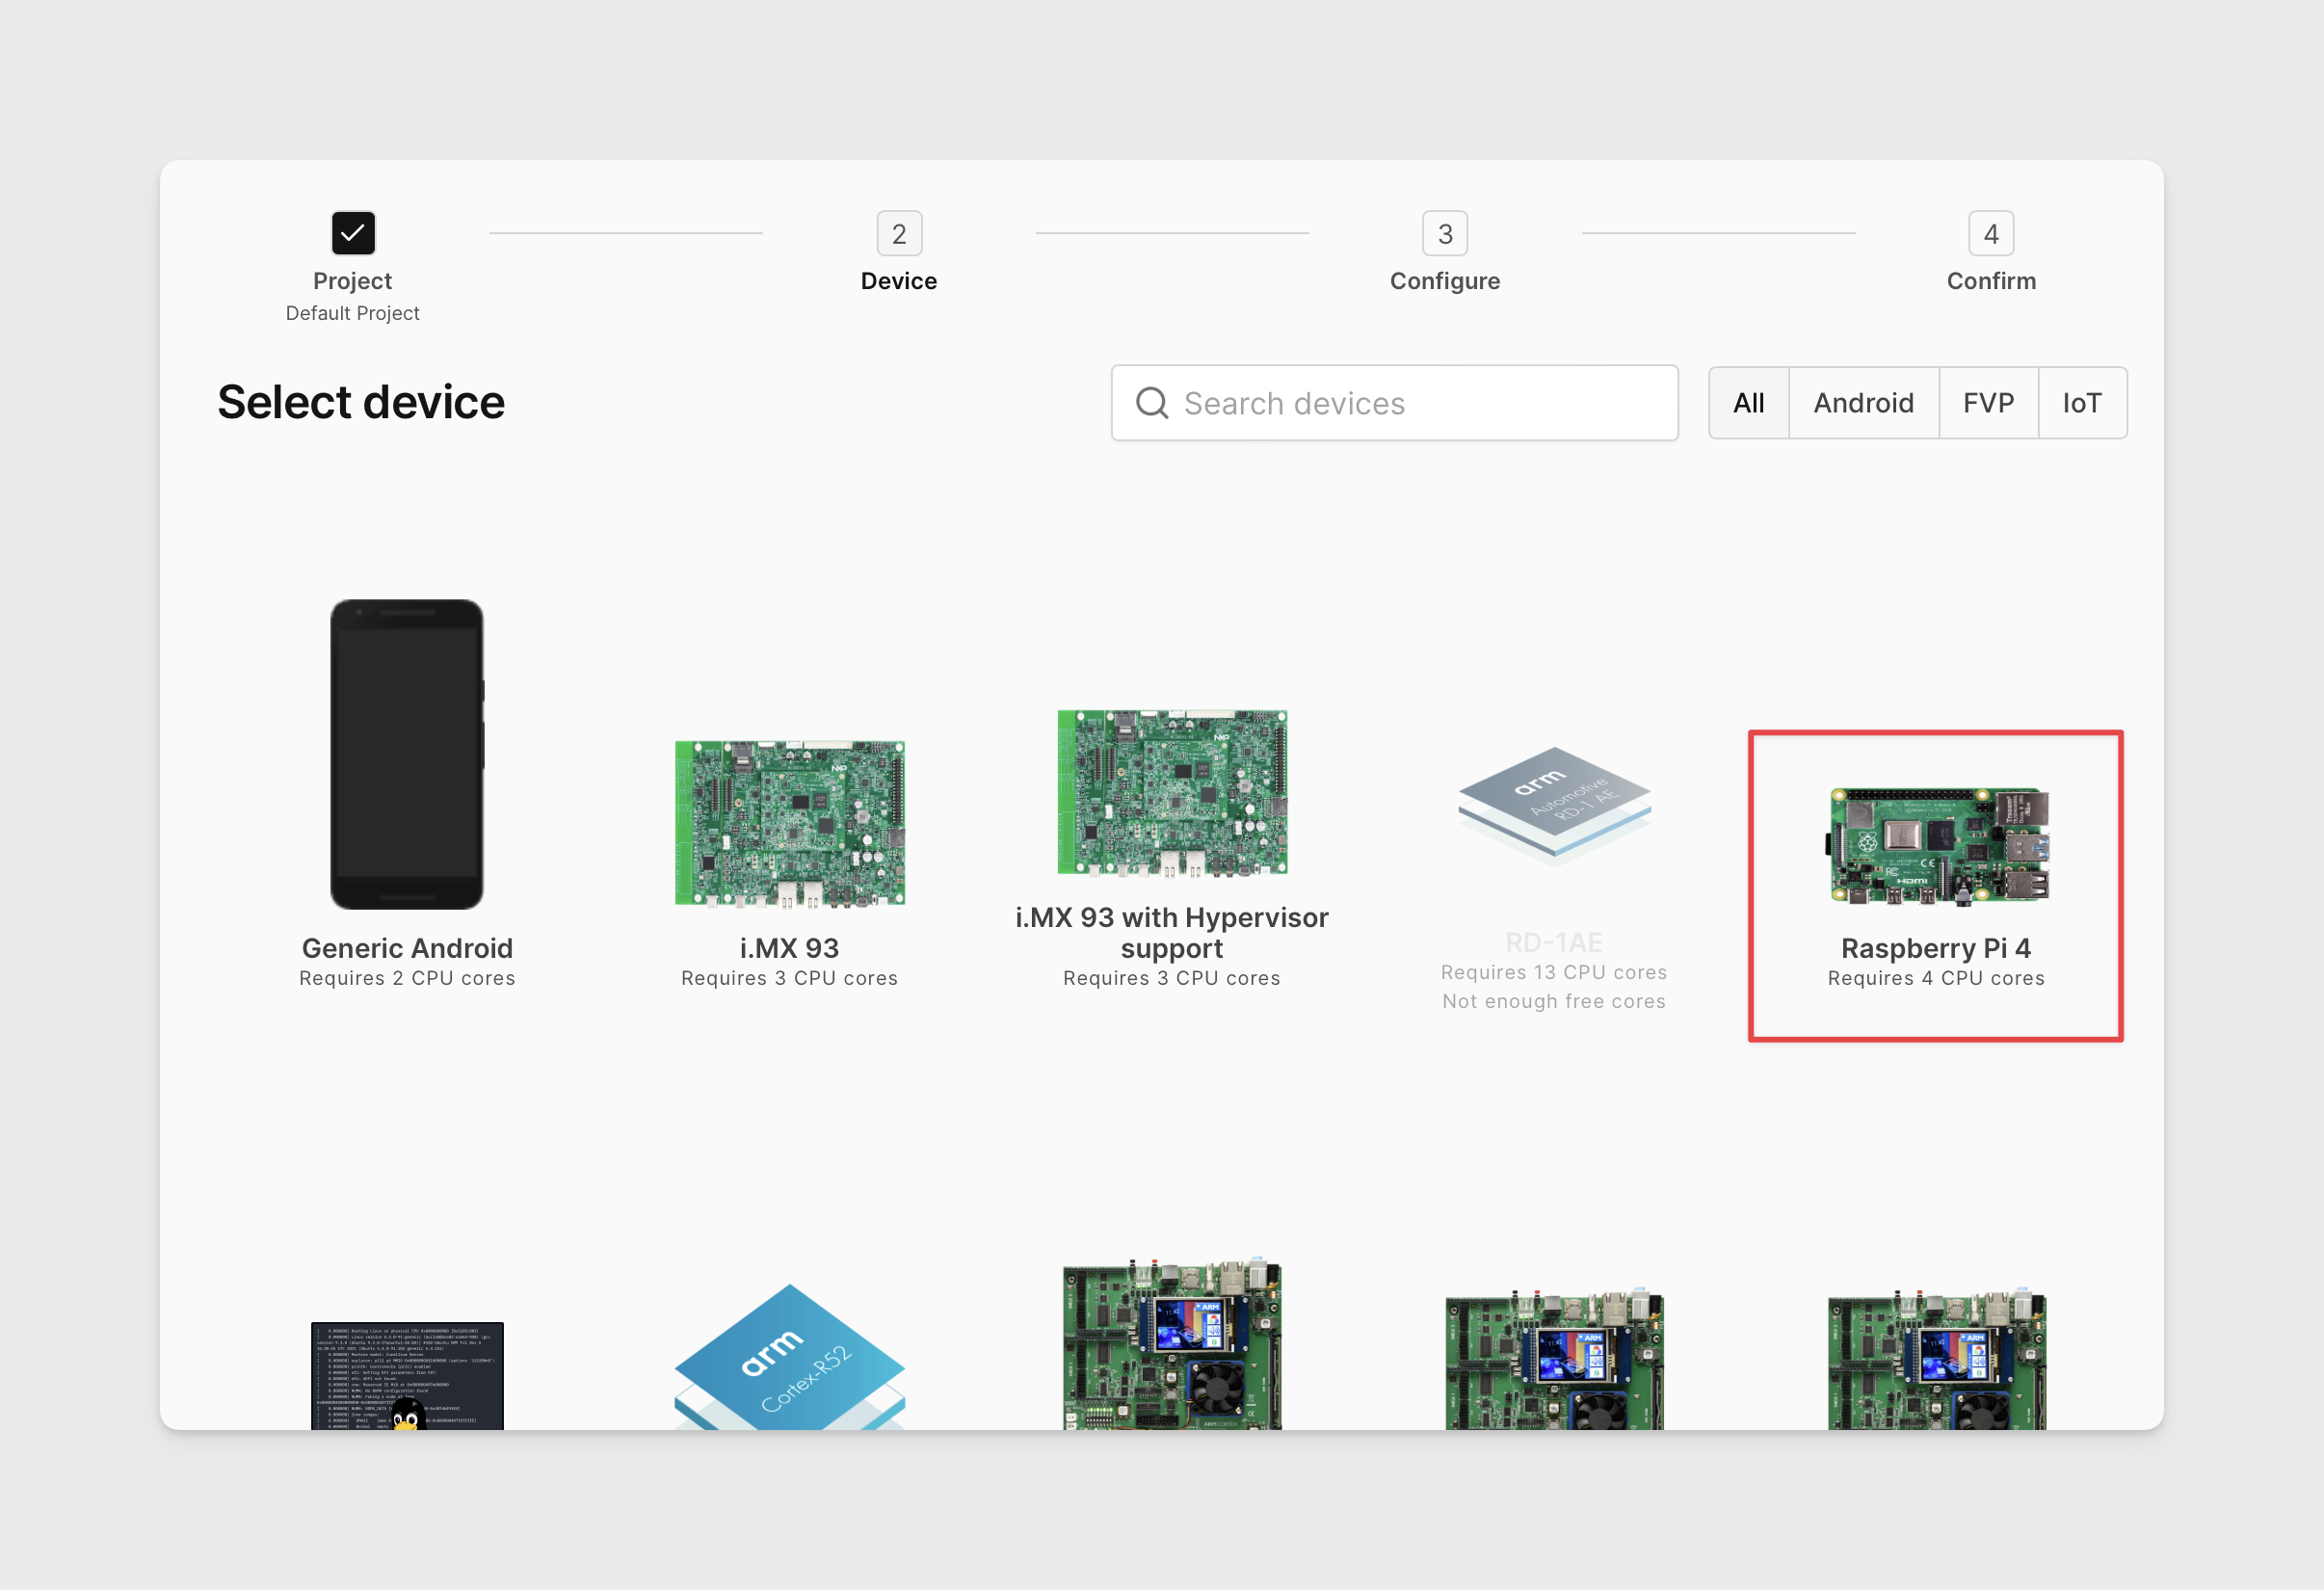
On the Select Device view click on the Raspberry Pi 4 board to proceed with creation of corresponding virtual instance.
 note
noteYou can narrow down the list of displayed boards by selecting the target category on the top-right side between | ALL | ANDROID | FVP | IOT. The Raspberry Pi 4 board is available under IOT and ALL tabs.
-
On the Configure your device screen, you will see a dropdown menu Select an example firmware with stock firmware options available for the target platform in AVH, see Stock Firmware for Raspberry Pi 4 for more details. For this quickstart example, choose
Raspberry Pi OS lite (11.2.0)and click SELECT.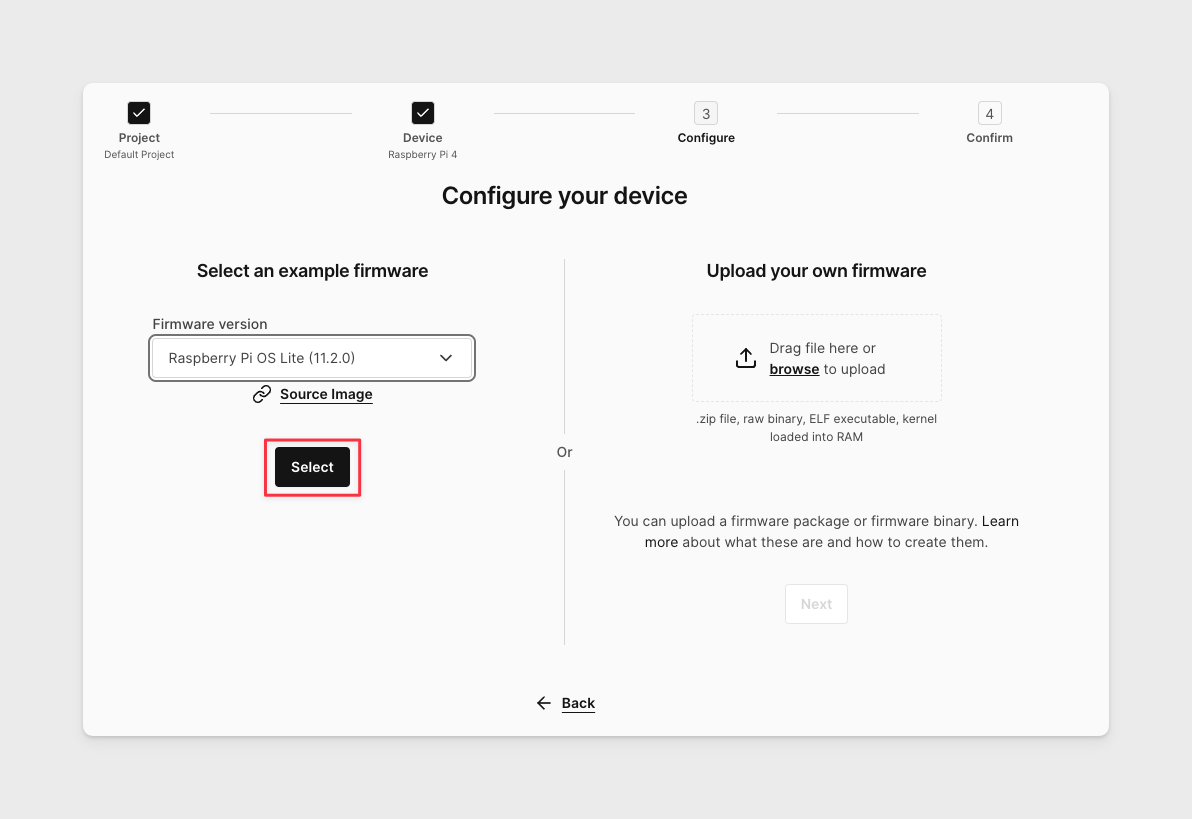 note
noteIt is also possible to upload custom firmware, see Custom Firmware for Raspberry Pi 4 for more information.
-
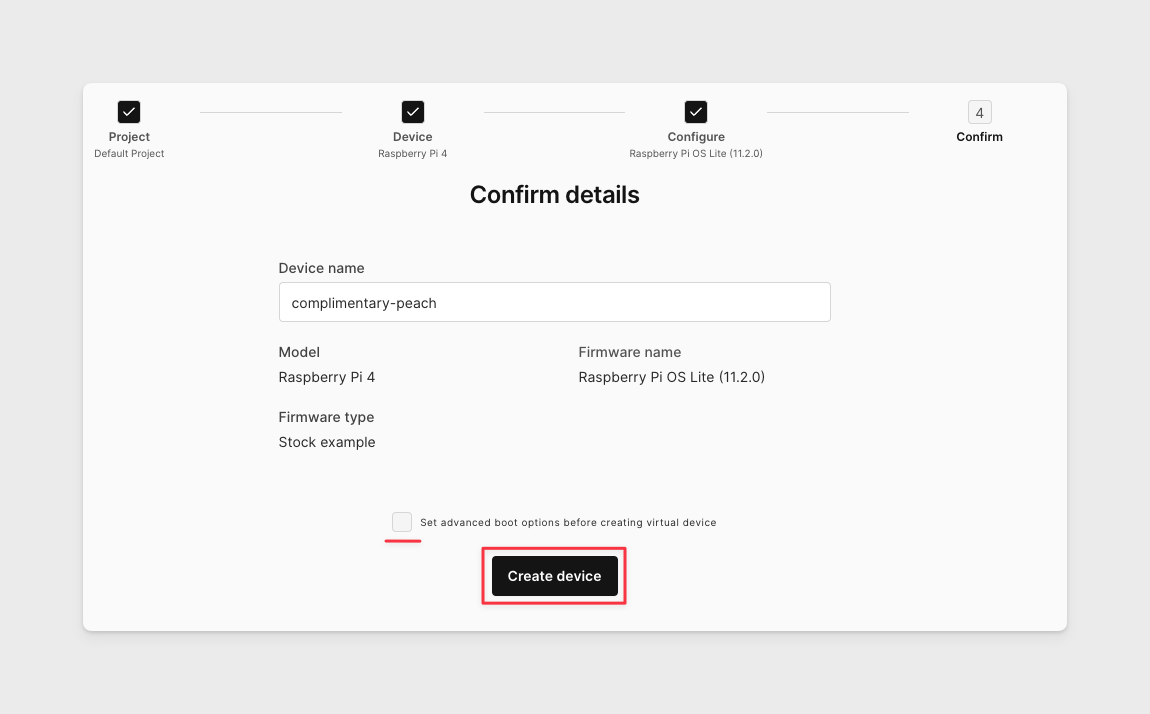
On the Confirm Details screen, you can update the device name if needed, verify your selections, and then click CREATE DEVICE. Keep the advanced boot options unchecked.
-
Please be patient while the virtualized device is created and then loads. It may take a few minutes.
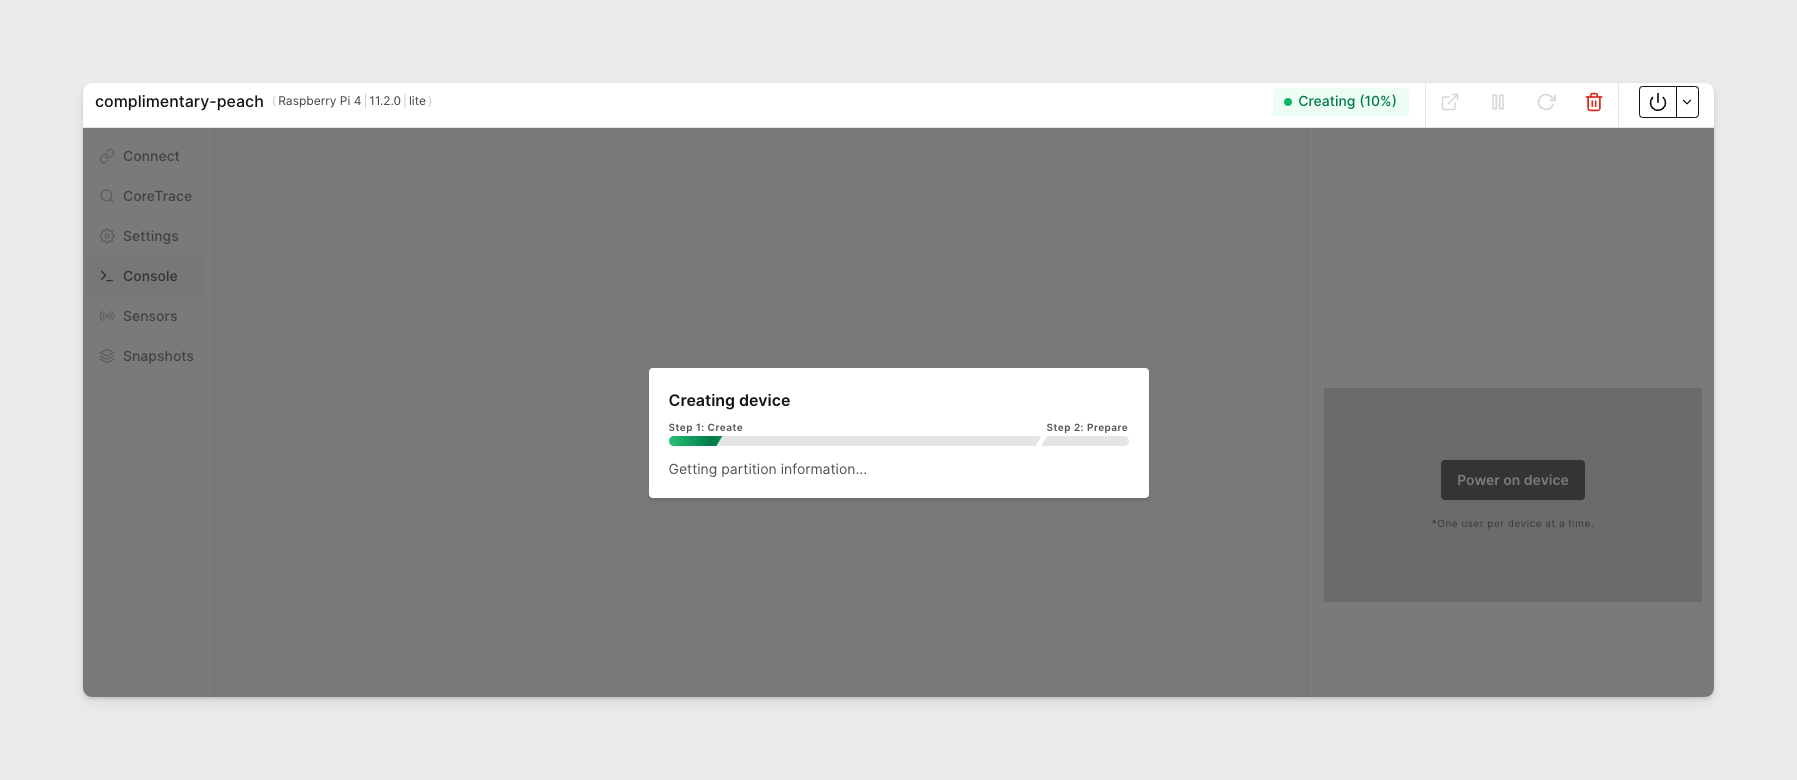
-
Your Raspberry Pi 4 device is now created!
Modifying the RAM (optional)
While the default RAM configuration for this device is 4GB, our Raspberry Pi 4 devices support 1GB, 2GB or 4GB LPDDR4 SDRAM. If you would like to customize the amount of RAM available, you can do so using the boot argument mem like so:
... mem=1G
Log in to console
-
Let's log in to the Linux command line interface on the device. Click Console tab in device's menu, if not open by default. Type in the default username:
piand password:raspberry, then hit the Return/Enter key. You should see the display name change topi@rasberrypi, meaning you are logged in.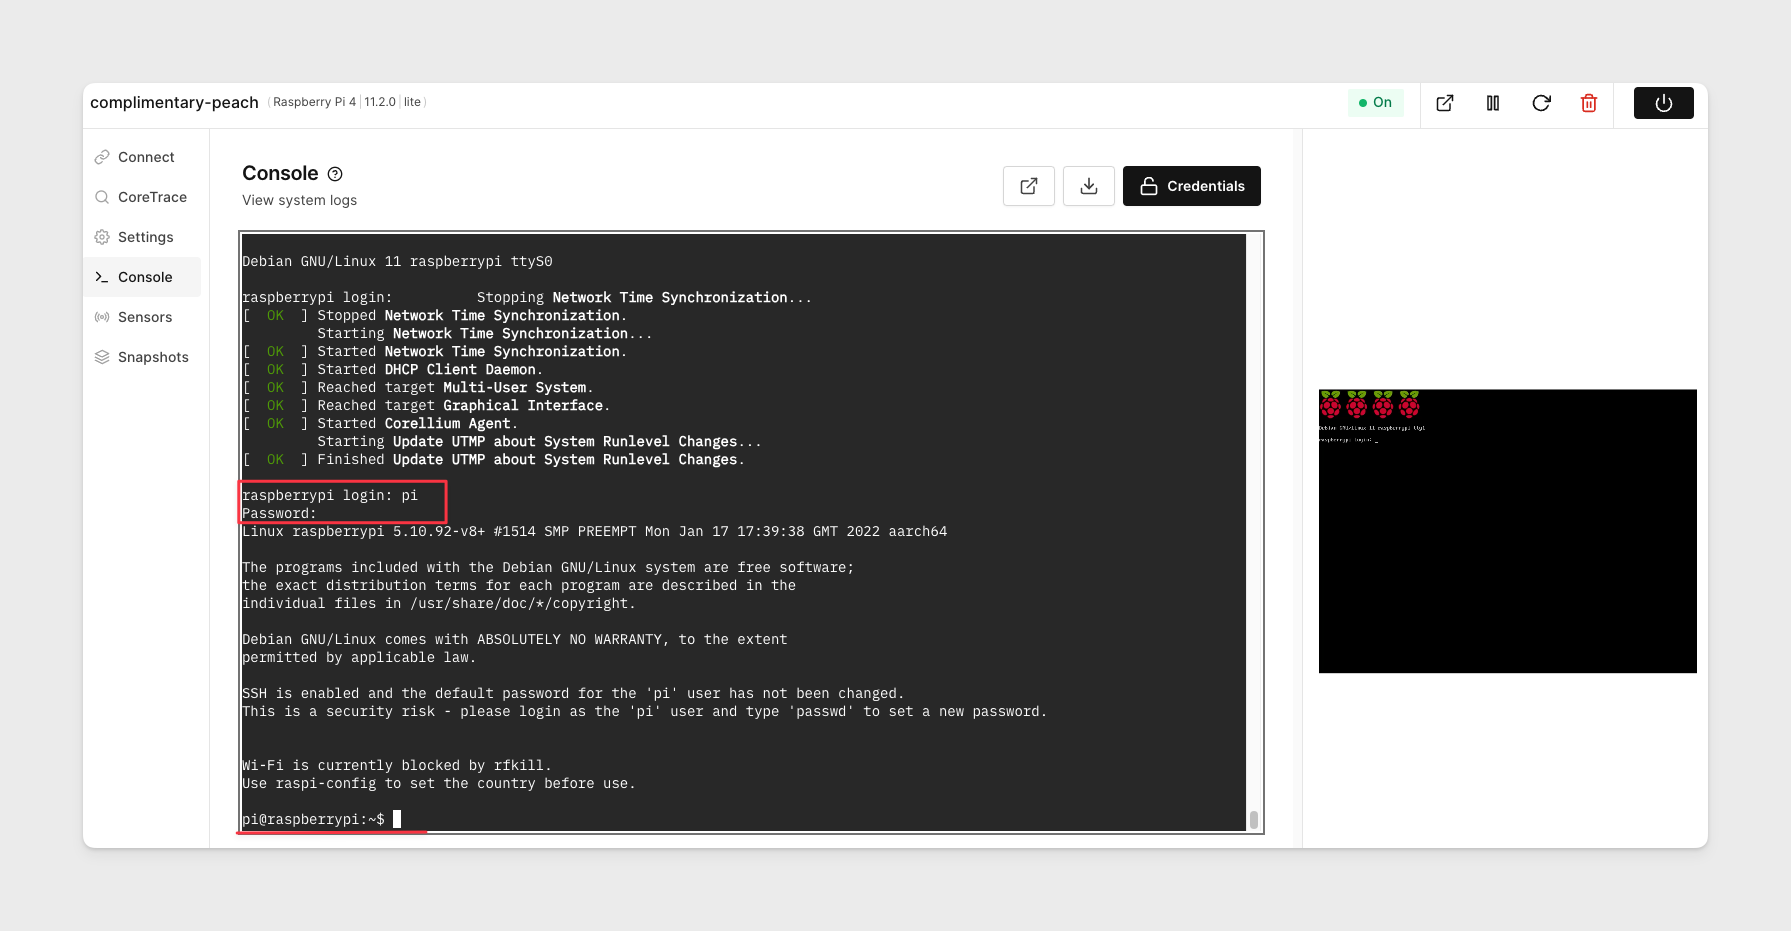
Alternatively, you can also use the graphical console on the left to log in.
-
Your virtualized Raspberry Pi 4 device is now ready to use!
Next steps
For next steps see Raspberry Pi 4 overview page with references to more usage examples.