Quickstart for STM32U5 IoT Discovery
This page guides you through the steps for creating and using a virtual STM32U5 IoT Discovery Kit.
We will use stock firmware WiFiBasics (1.1.0) that demonstrates basic WiFi communication features available on this board. The source code for this firmware example is available in the STM32Cube Firmware Package for U5 and can be obtained as "Nx_Network_Basics" example from the STM32Cube.
The example itself works also on a real hardware, and can be used as follows:
- On power up the application performs a network scan function and connects to the default network. The serial console displays the help command list.
- End-user can enter any of the proposed commands:
- ping : ping a remote host and display time to perform ping request
- echo : send 10 x [1000..2000] bytes to an echo server (armMBED@ one) and check that return data are identical to the one sent
- scan : list available WiFi access points
- http : download a file from an HTTP server, http (default url is
http://public.st.free.fr/500MO.bin)
Follow the steps below to execute this example on a virtual STM32U5 IoT Discovery Kit.
Creating your device
To create your device, do the following:
-
Log in to AVH with your Arm account at https://app.avh.corellium.com. If you do not have an Arm account you can register here.
-
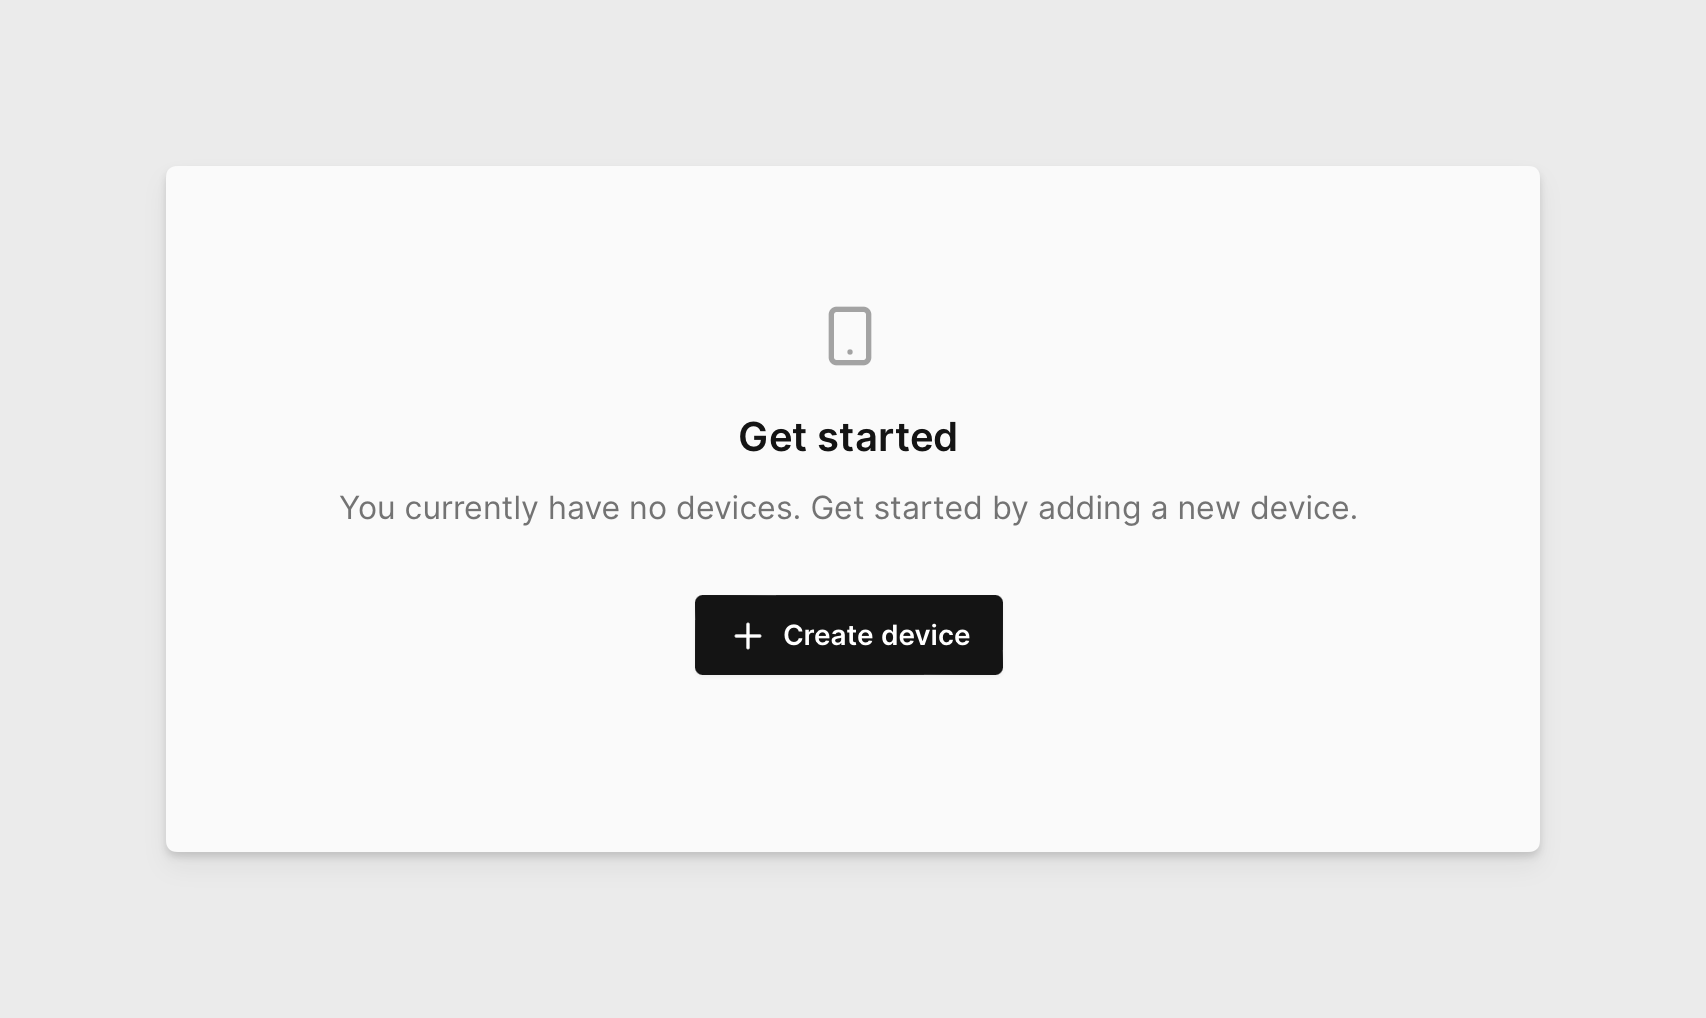
After logging in, you should land on Devices page. There click CREATE DEVICE:
-
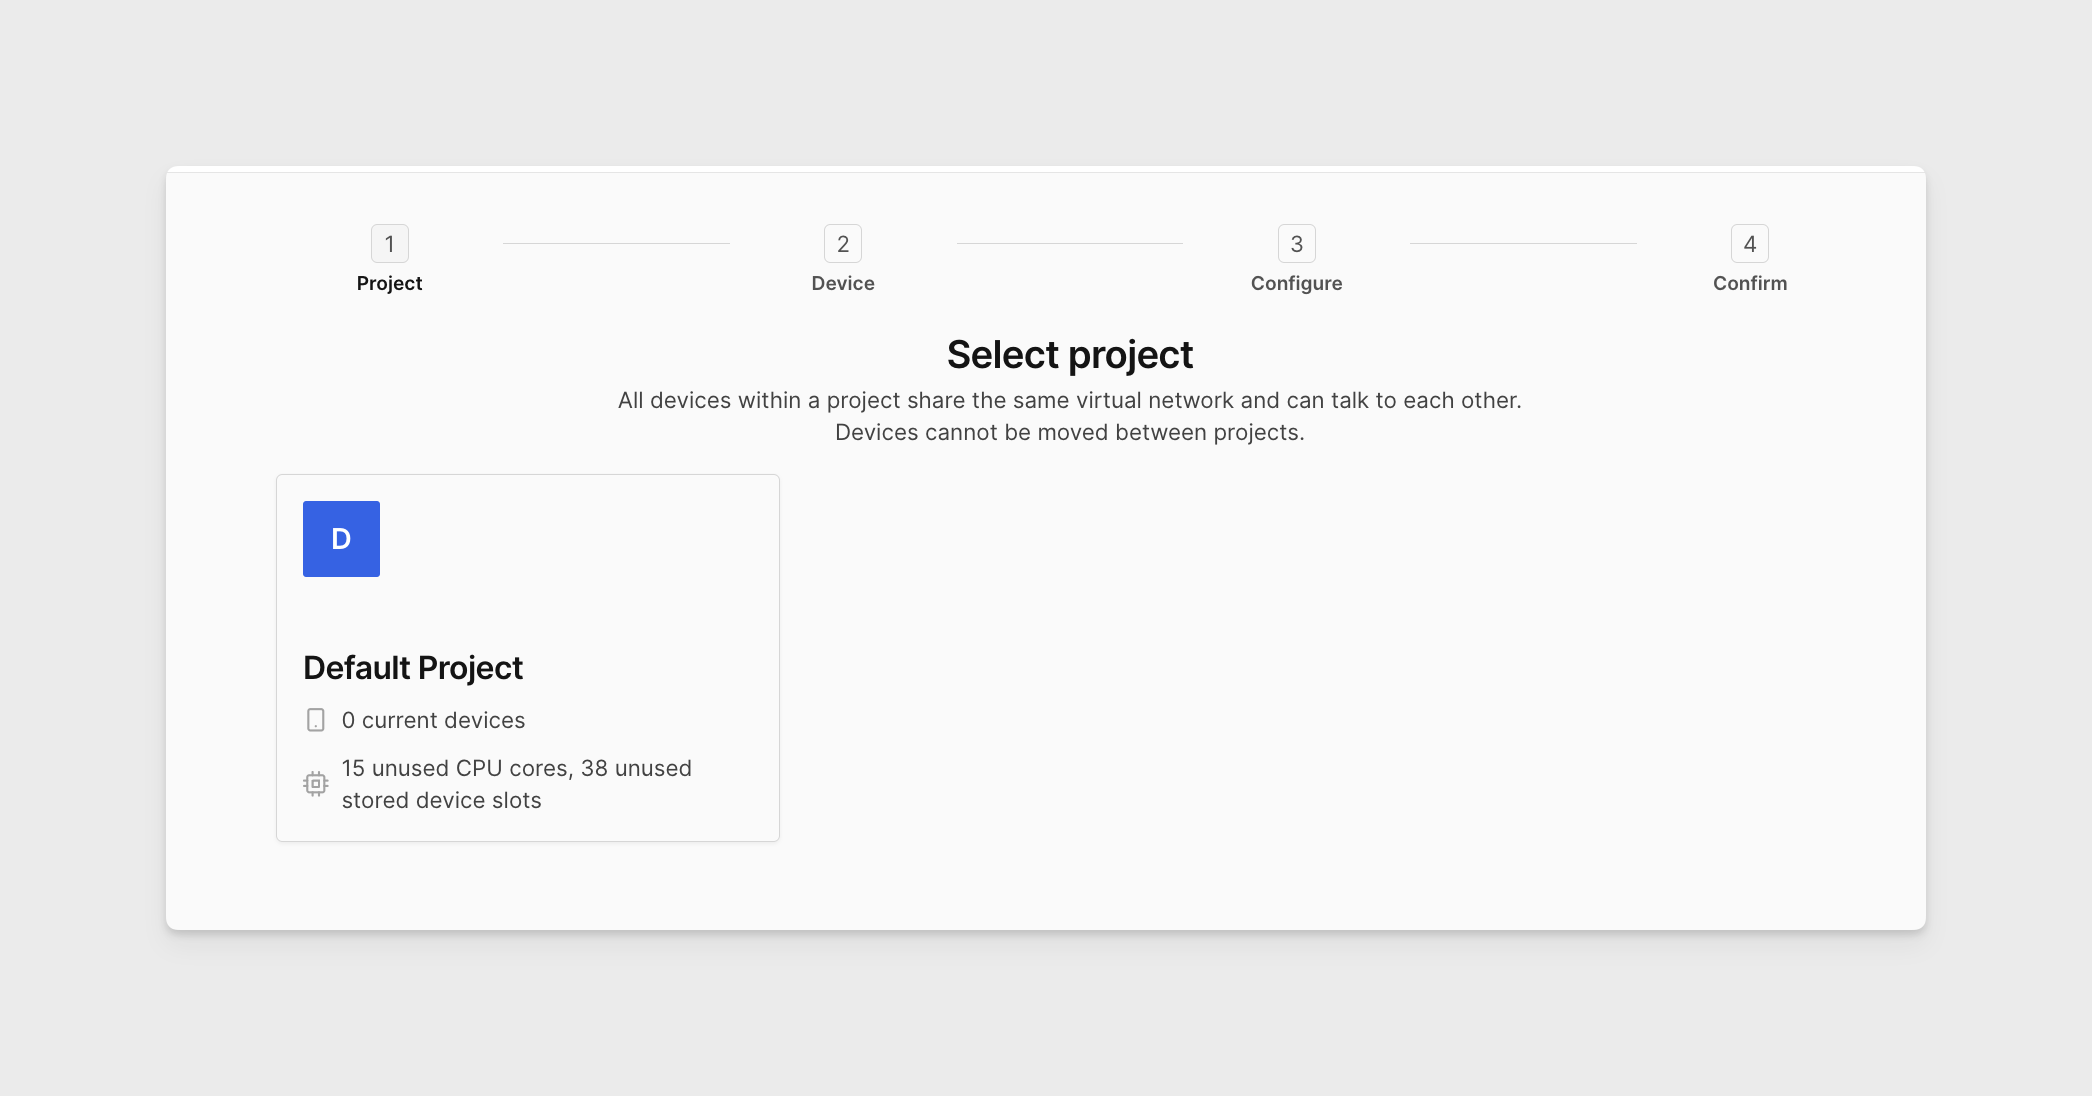
Select your project.
-
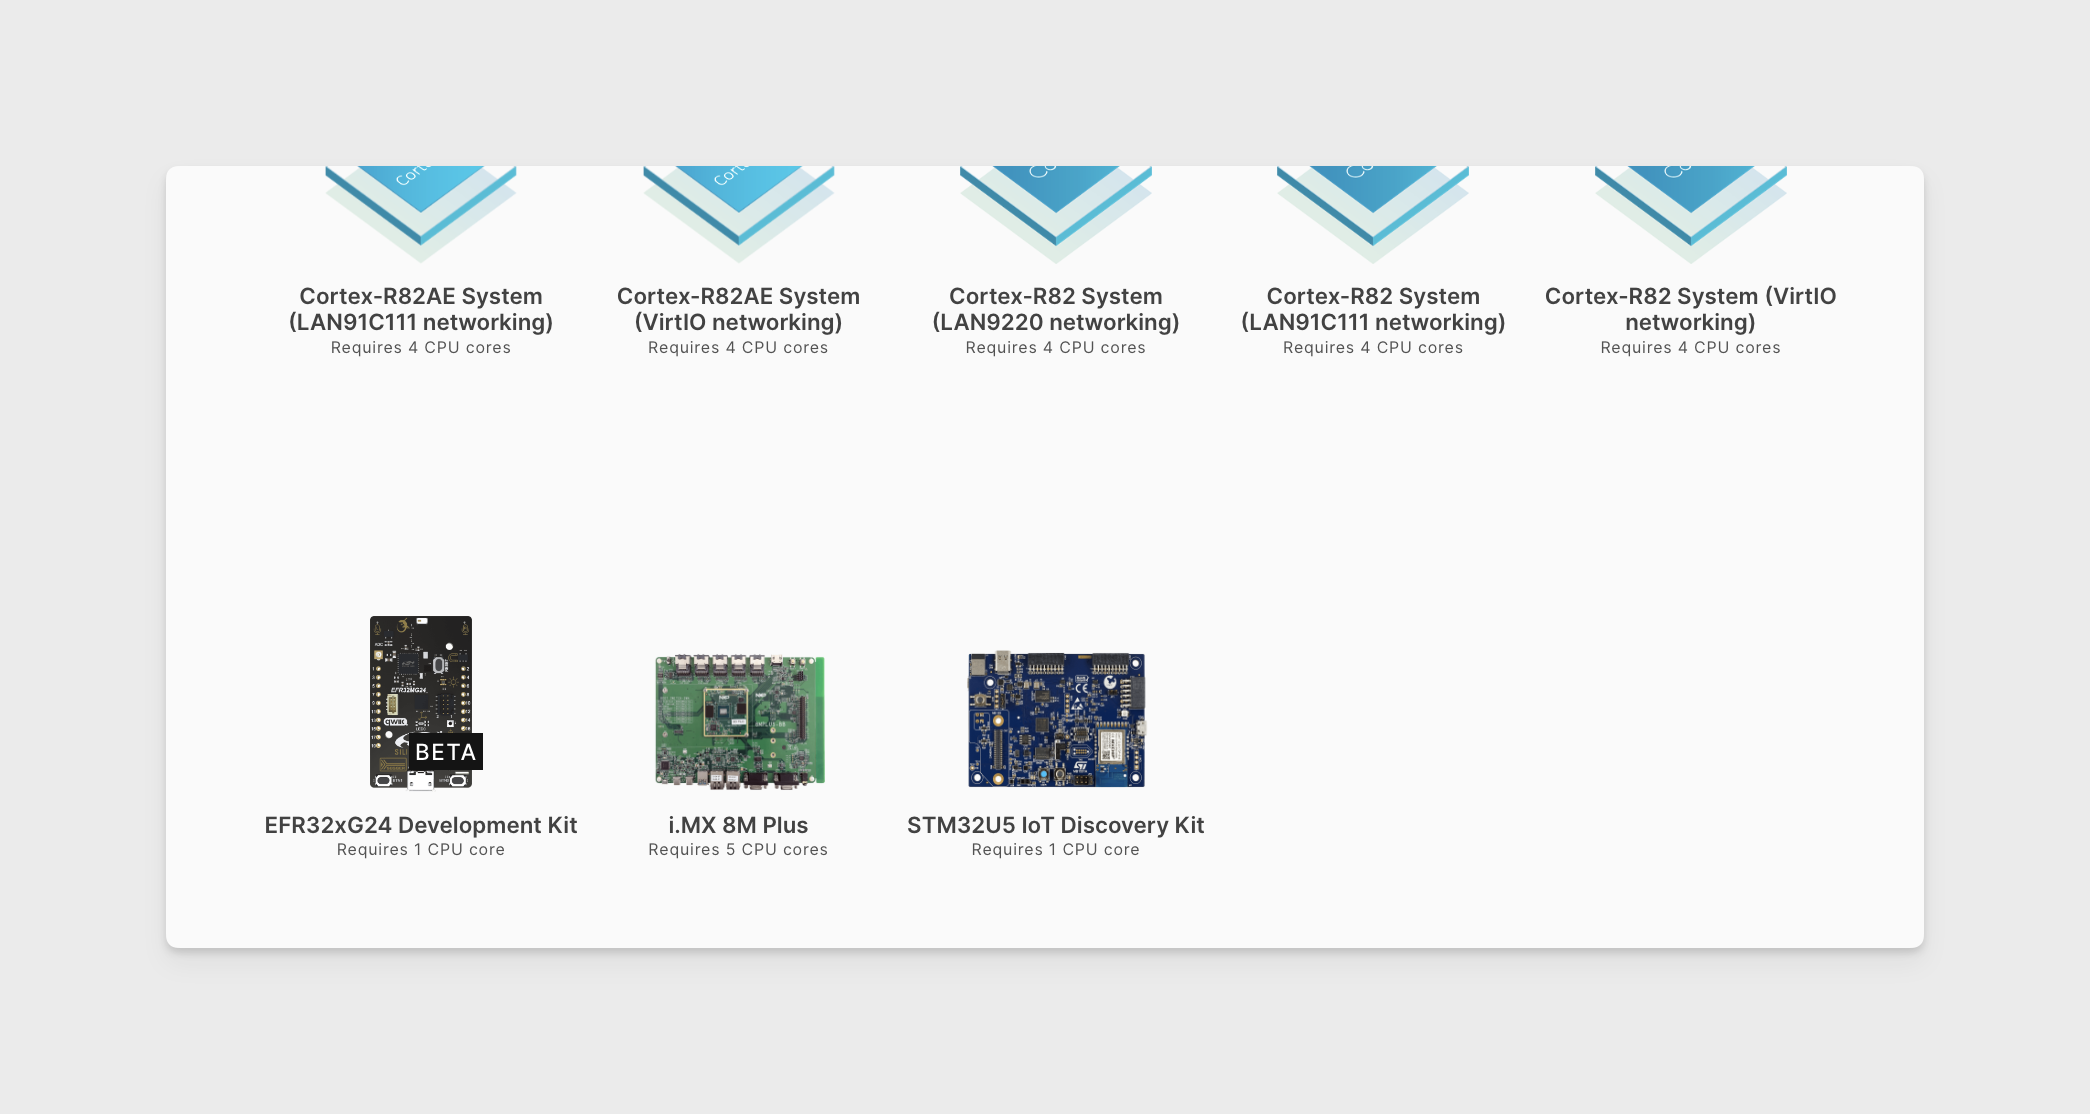
Click on the STM32U5 IoT Discovery Kit to proceed with creation of corresponding virtual instance.
 note
noteYou can narrow down the list of displayed boards by selecting the category tab on the top-right side between | ALL | ANDROID | FVP | IOT. The STM32U5 IoT Discovery Kit can be found under IOT and ALL tabs.
-
On the page Configure Your Device, you will see a dropdown with stock firmware available for the target platform, see Stock Firmware for STM32U5 for details. For this example, choose
WiFiBasics (1.1.0)and click SELECT.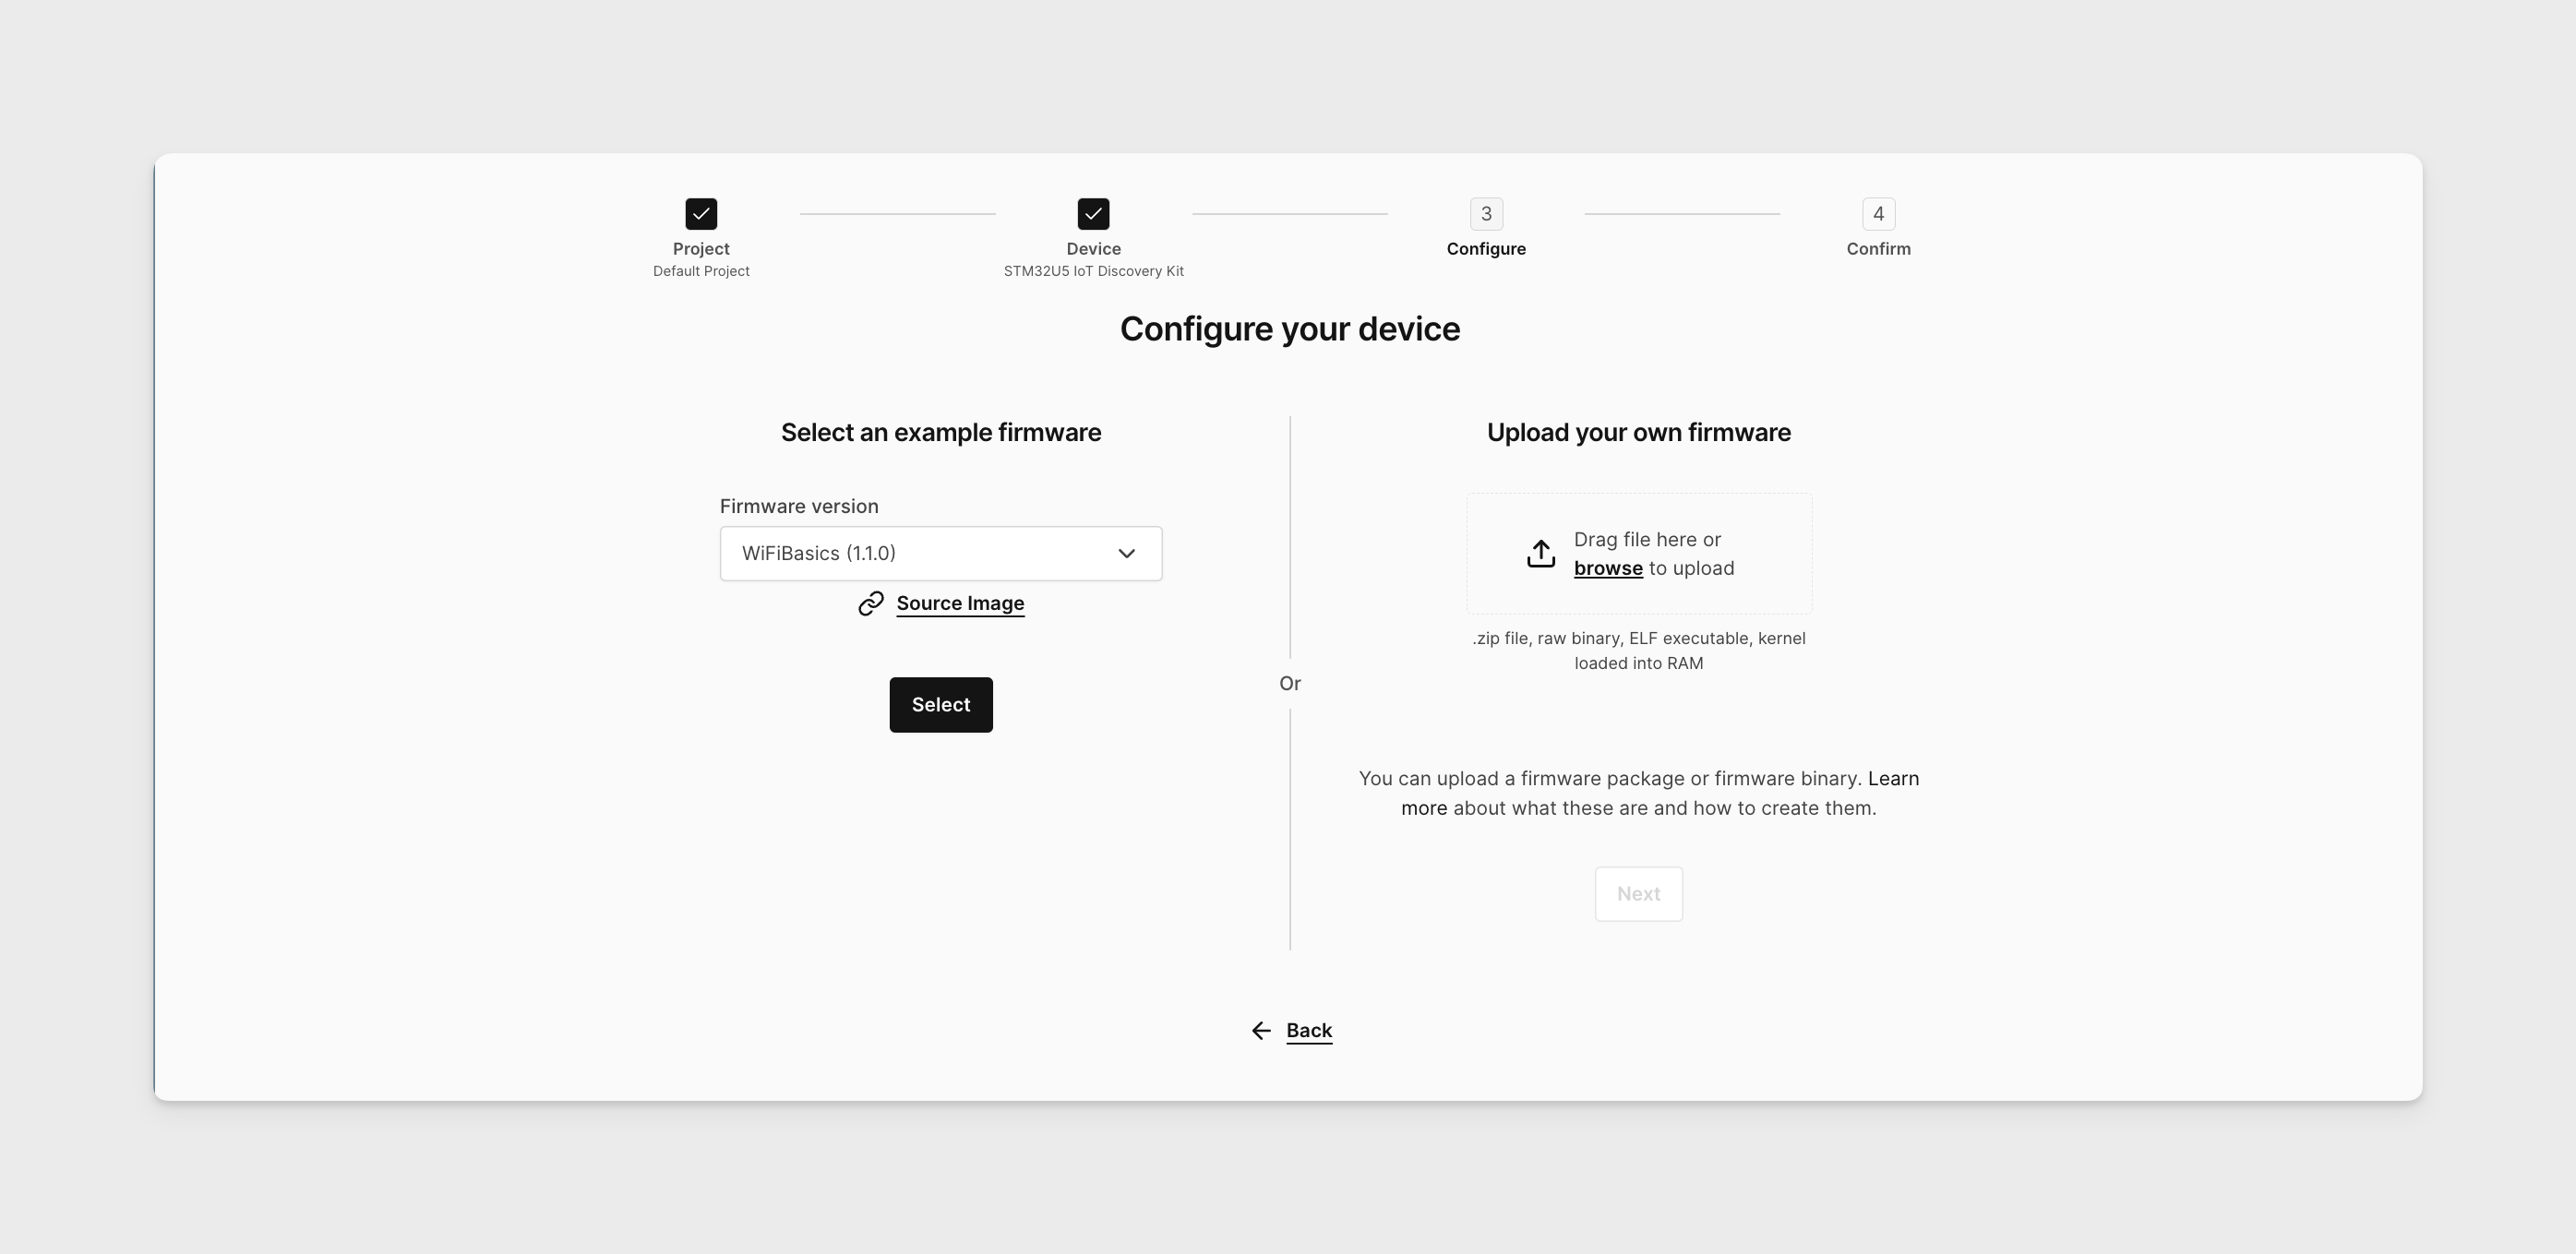
-
On the Confirm Details screen you can specify the device name and verify your selections. Keep the advanced boot options unchecked and then click CREATE DEVICE.
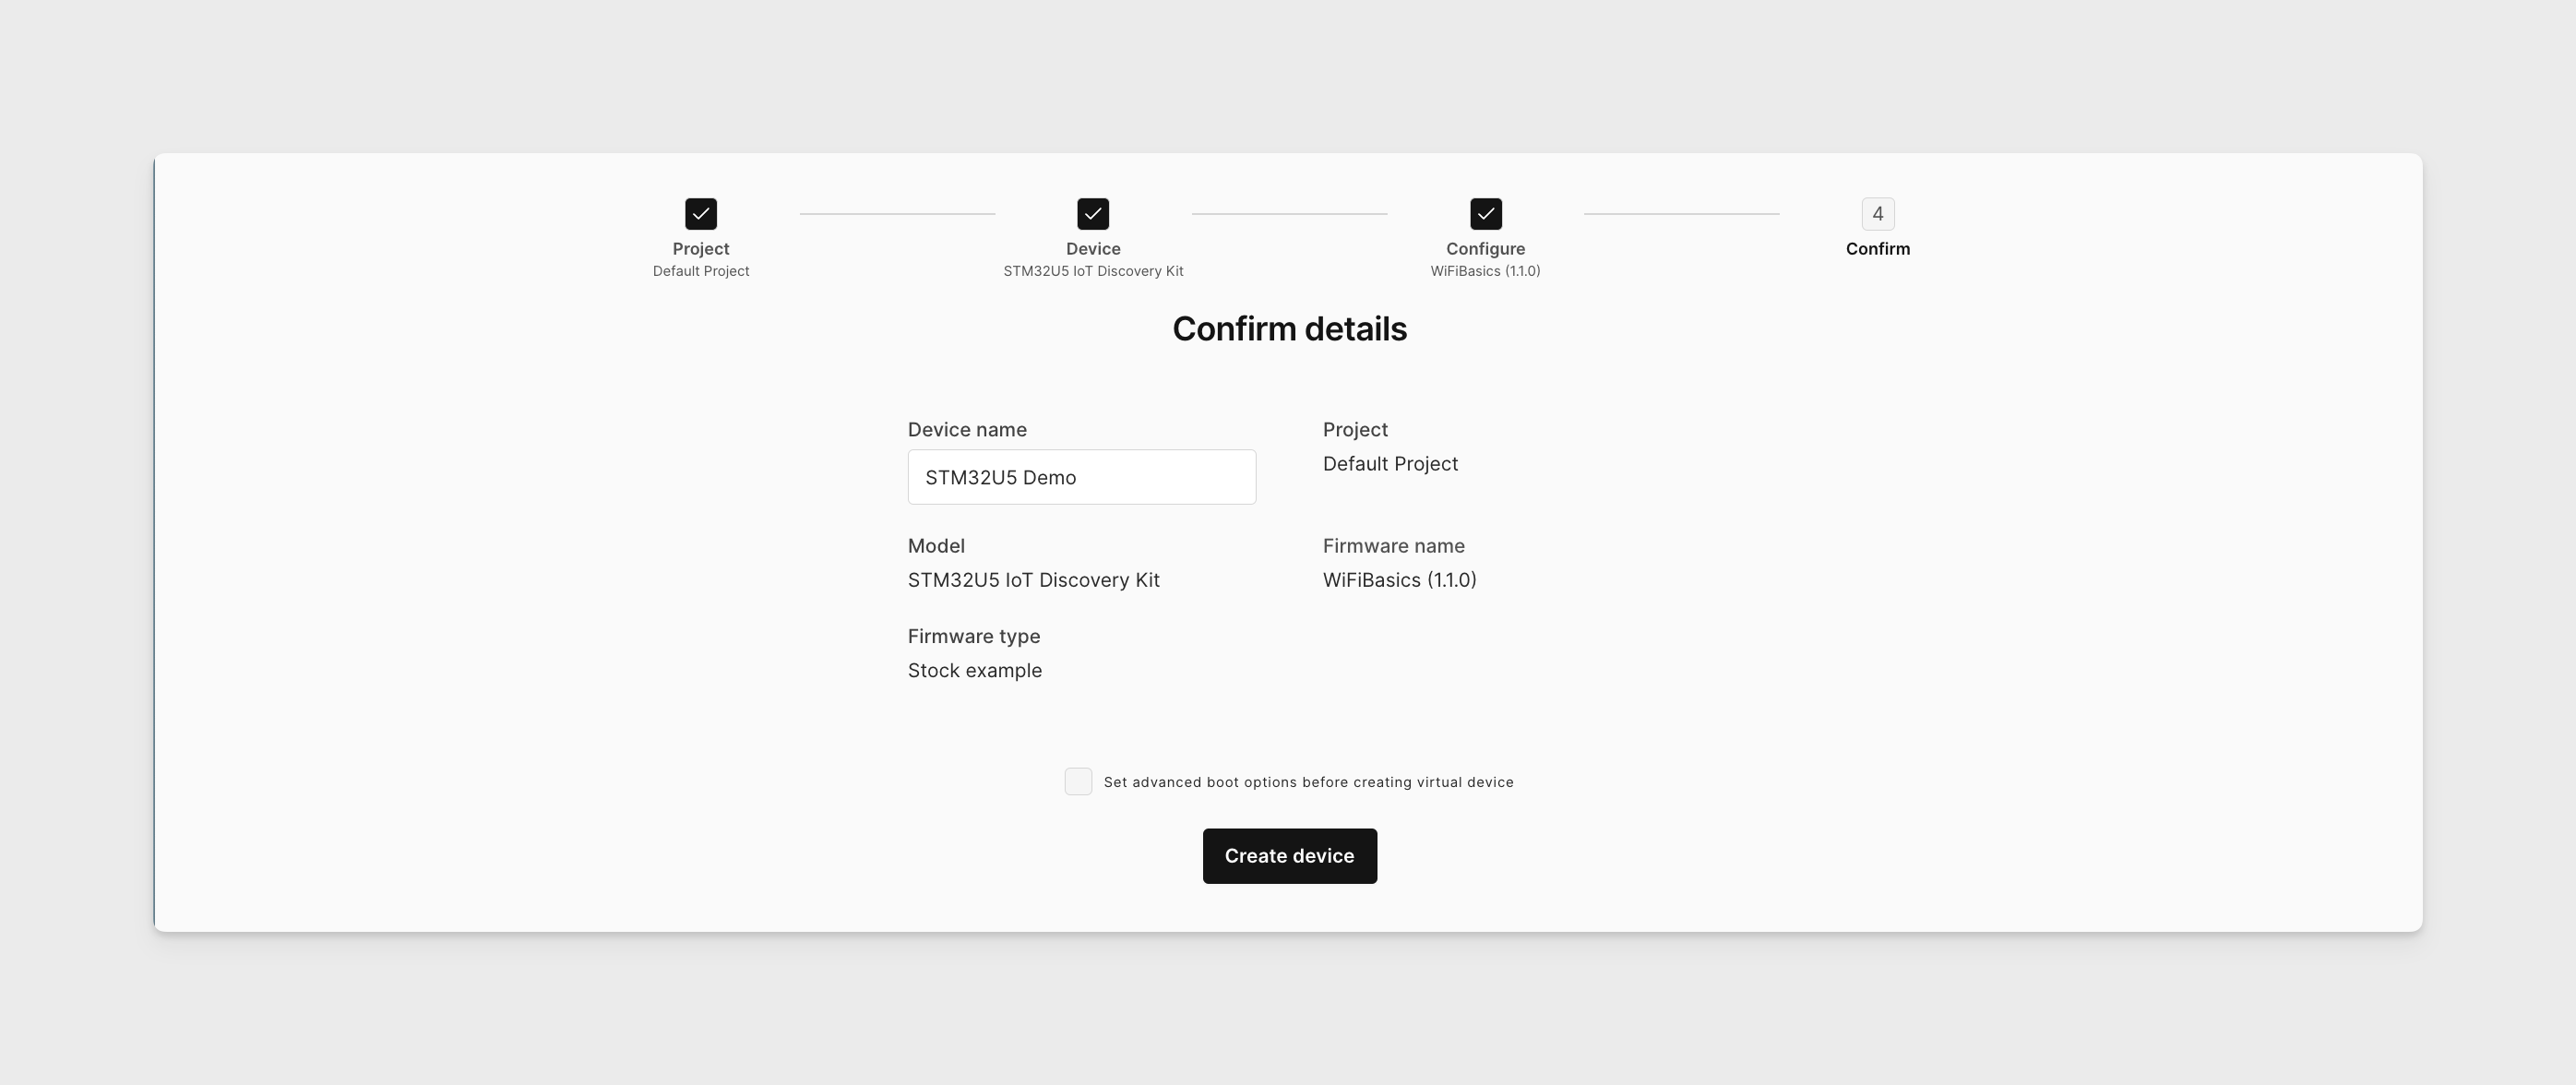
-
The device will then be created. It takes a few moments.
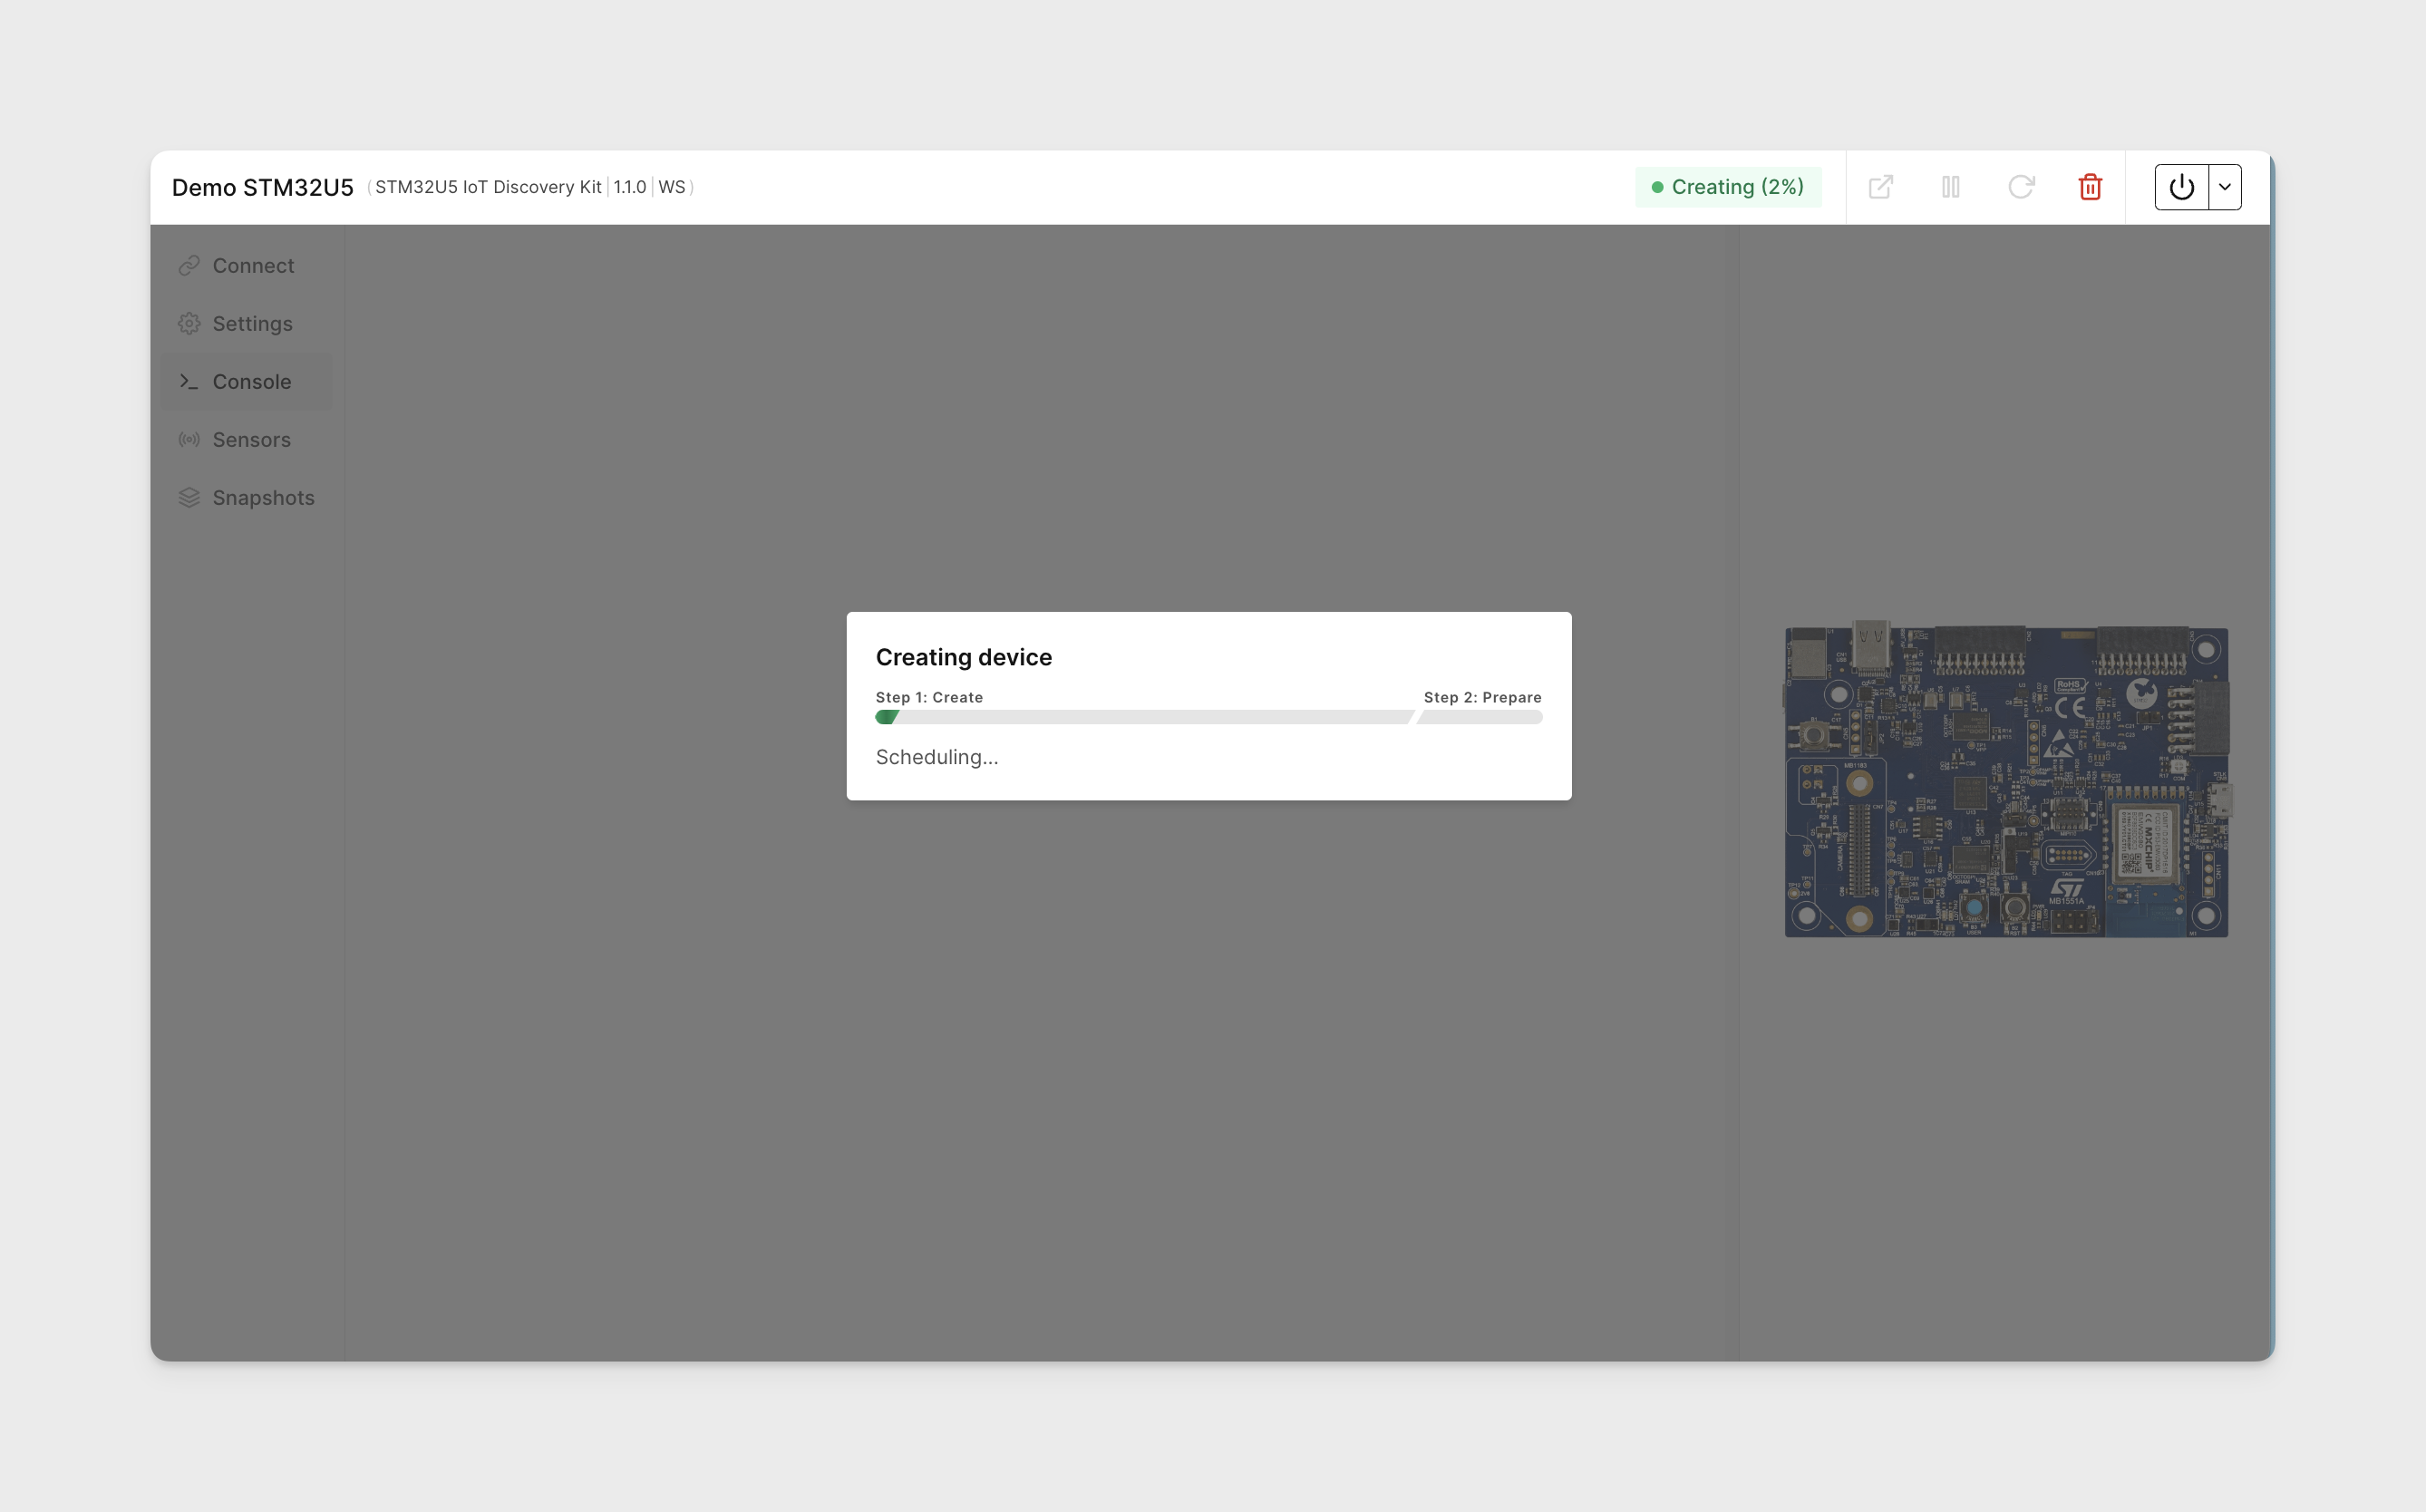
-
Your STM32U5 IoT Discovery Kit is now ready to go! You shall see its serial console, board picture, and underneath it one switch, three output LEDs, one input button.
Running the example
The program scans for available WiFi networks and connects to the default one ("Arm" in this case). There is a console menu to test various functions.
-
Click Console tab in device's menu, if it is not open by default. You shall see a console menu with available commands. For example, use
scancommand to see the available WiFi network "Arm", or usehttpto download a binary file from the ST website.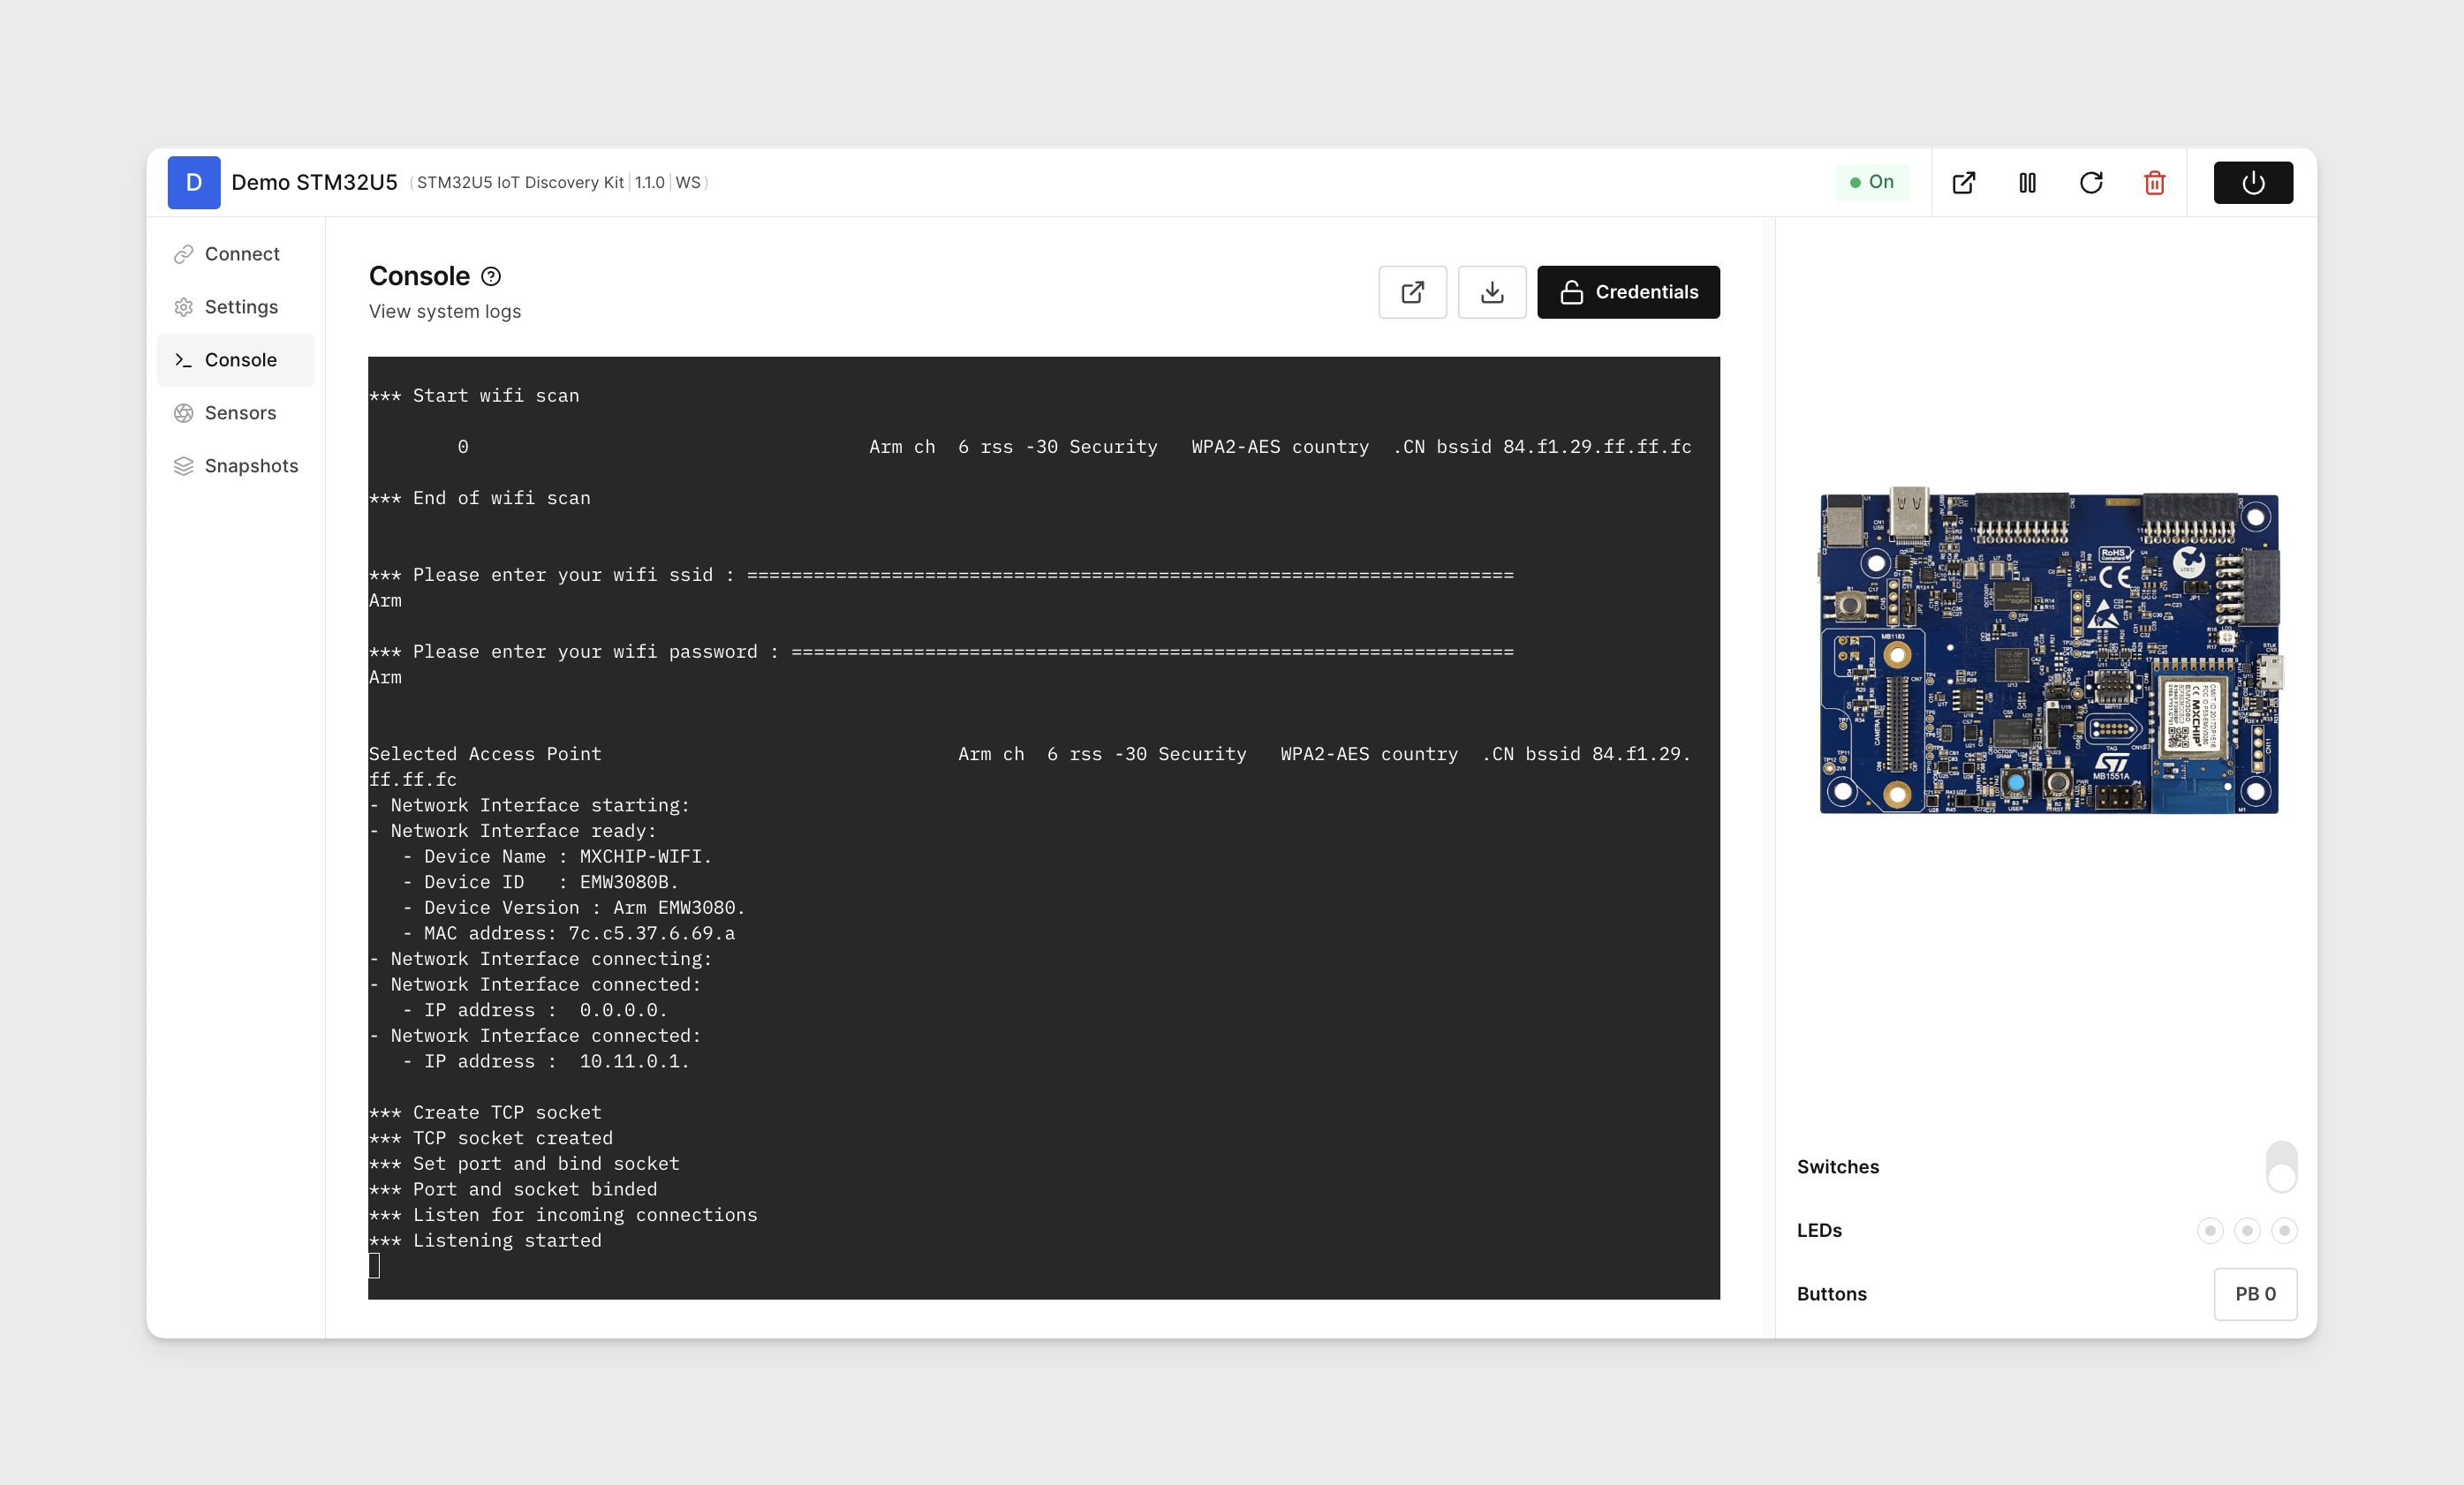
Next steps
For next steps see STM32U5 IoT Discovery Kit overview page with references to more usage examples.