Custom Firmware for Raspberry Pi 5
This section provides step-by-step instructions to cross-compile a custom Linux kernel for Raspberry Pi 5B, install the kernel & kernel modules, and update root filesystem (nand) contents. The final output is a custom firmware package that can be tested on the ARM Virtual Prototype (AVH) .
Firmware Package Contents
For the overall information about firmware packaging see Linux Firmware Packages.
A proper firmware package for a virtual Raspberry Pi 5 board contains following files:
Info.plist- for the meta information in JSON format about firmware version, type, build, unique identifier, and device identifier.nand- with the preinstalled arm64 image file.devicetree- hardware components data for the Linux kernel.kernel- the Linux kernel file.
Install the Package
The steps below are specific the firmware package with Raspberry Pi Desktop, but can be followed in the same way to install other packages:
-
In your local Linux environment run the shell script for creating the Ubuntu Server image as given in Firmware Scripts. It shall create firmware package file
rpi5b-ubuntu-server.zip. -
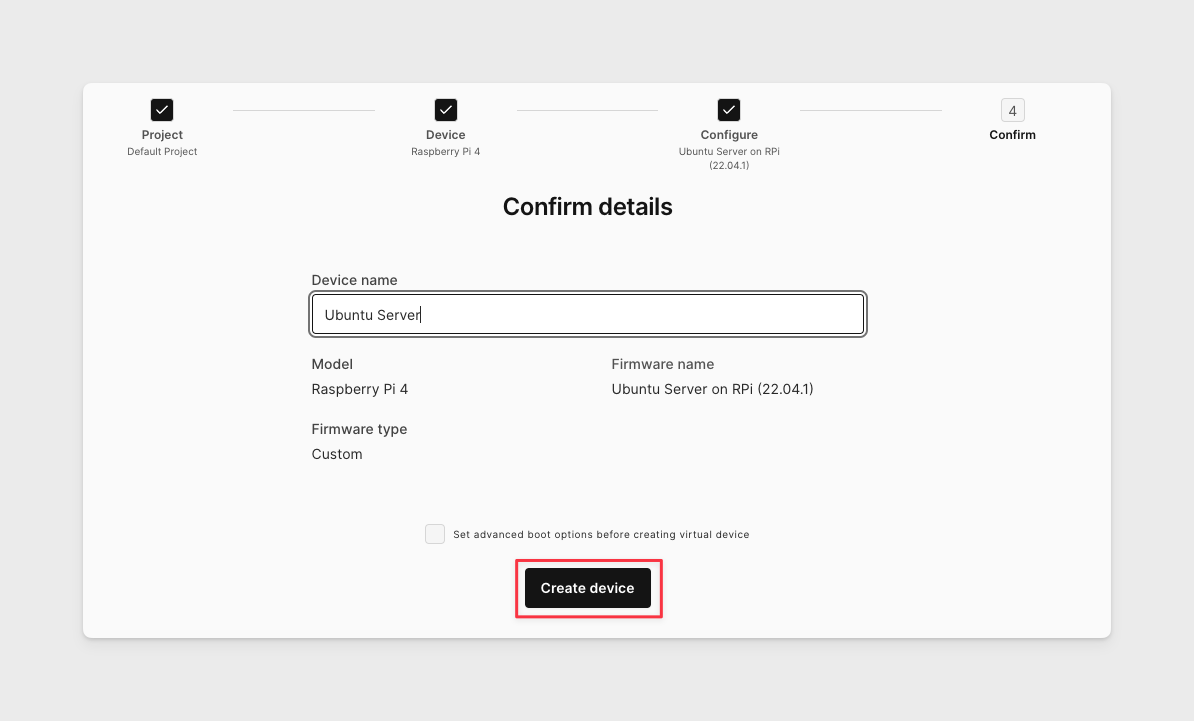
On the AVH web interface, click CREATE DEVICE.
-
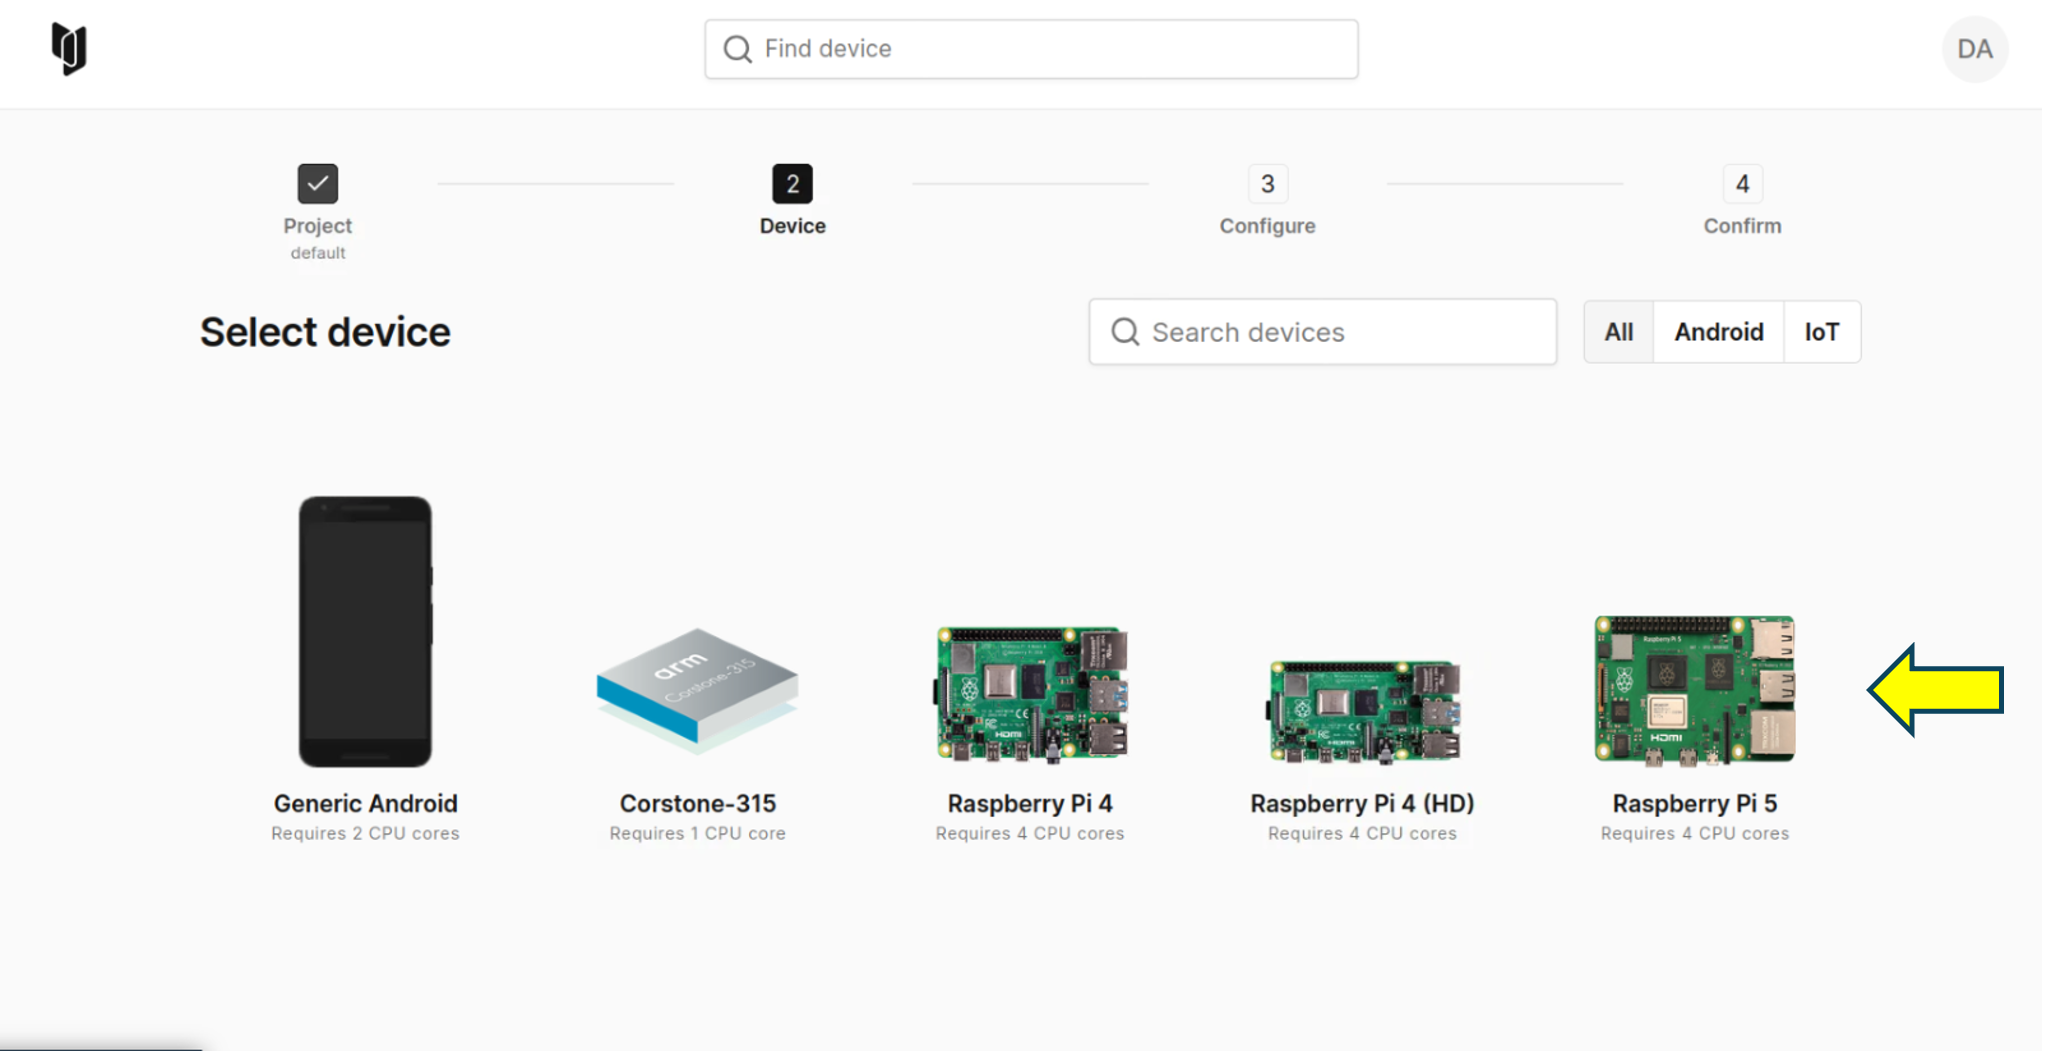
Click on the Raspberry Pi 5 board.
-
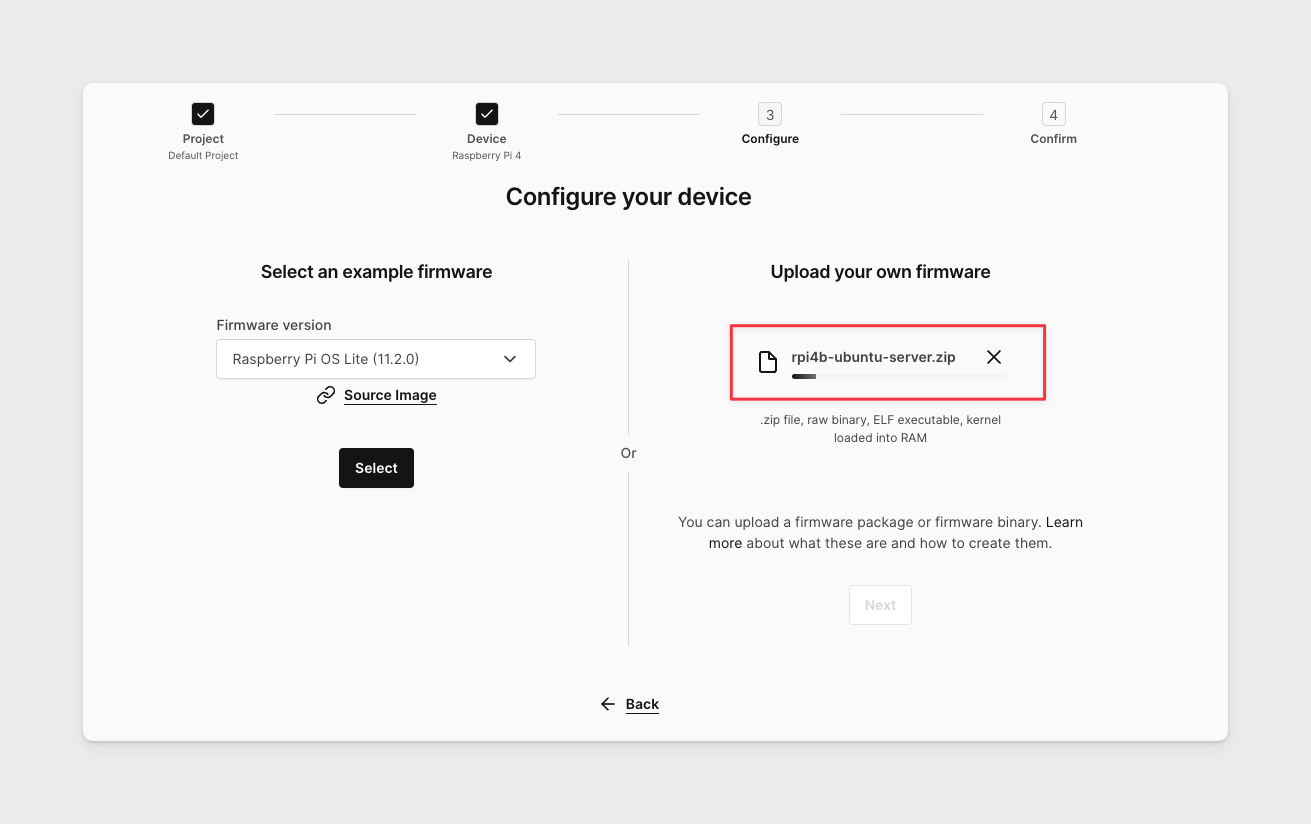
Upload the custom firmware package.
-
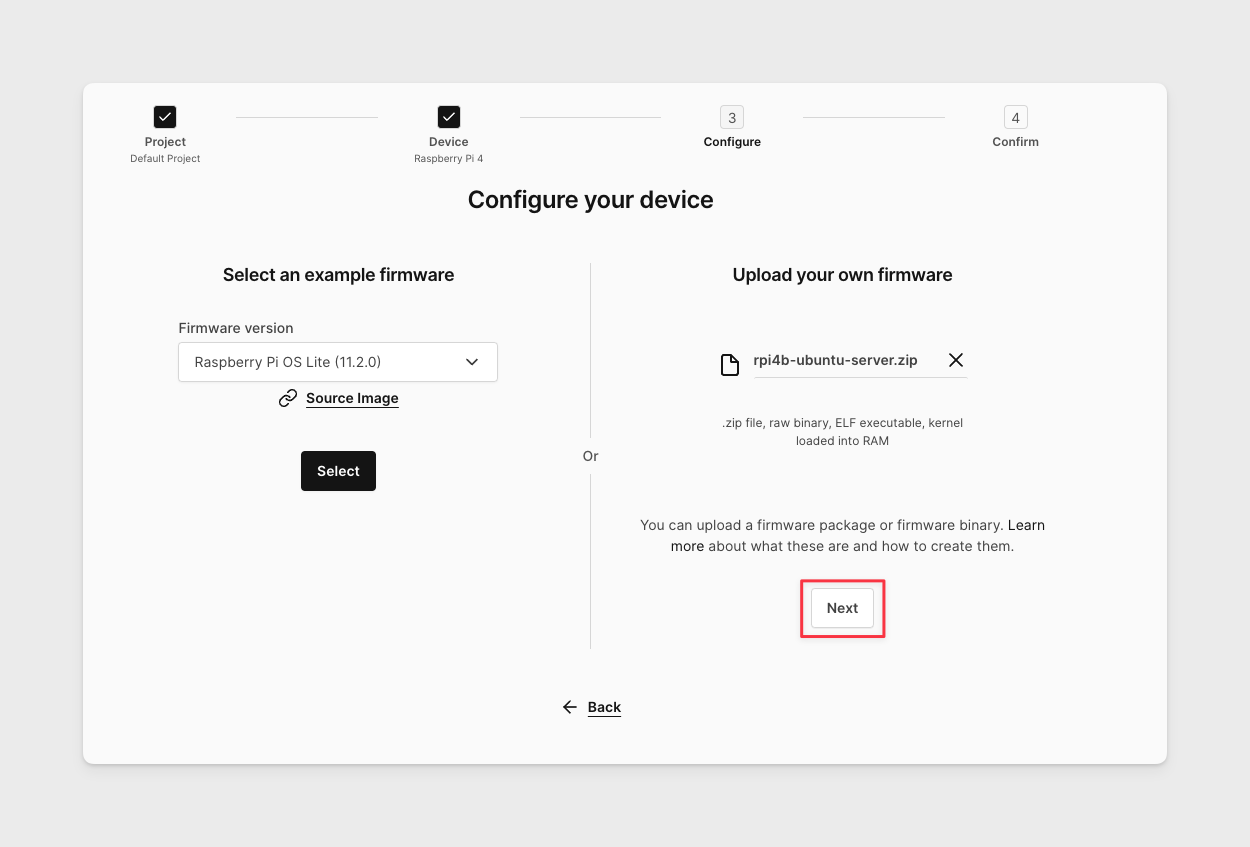
When the process is complete, click NEXT.
-
Create the device without enabling advanced boot options.
-
The virtual board will boot to the Raspberry Pi Desktop login screen. Login with the default credentials (
pi/raspberry) and change your admin password.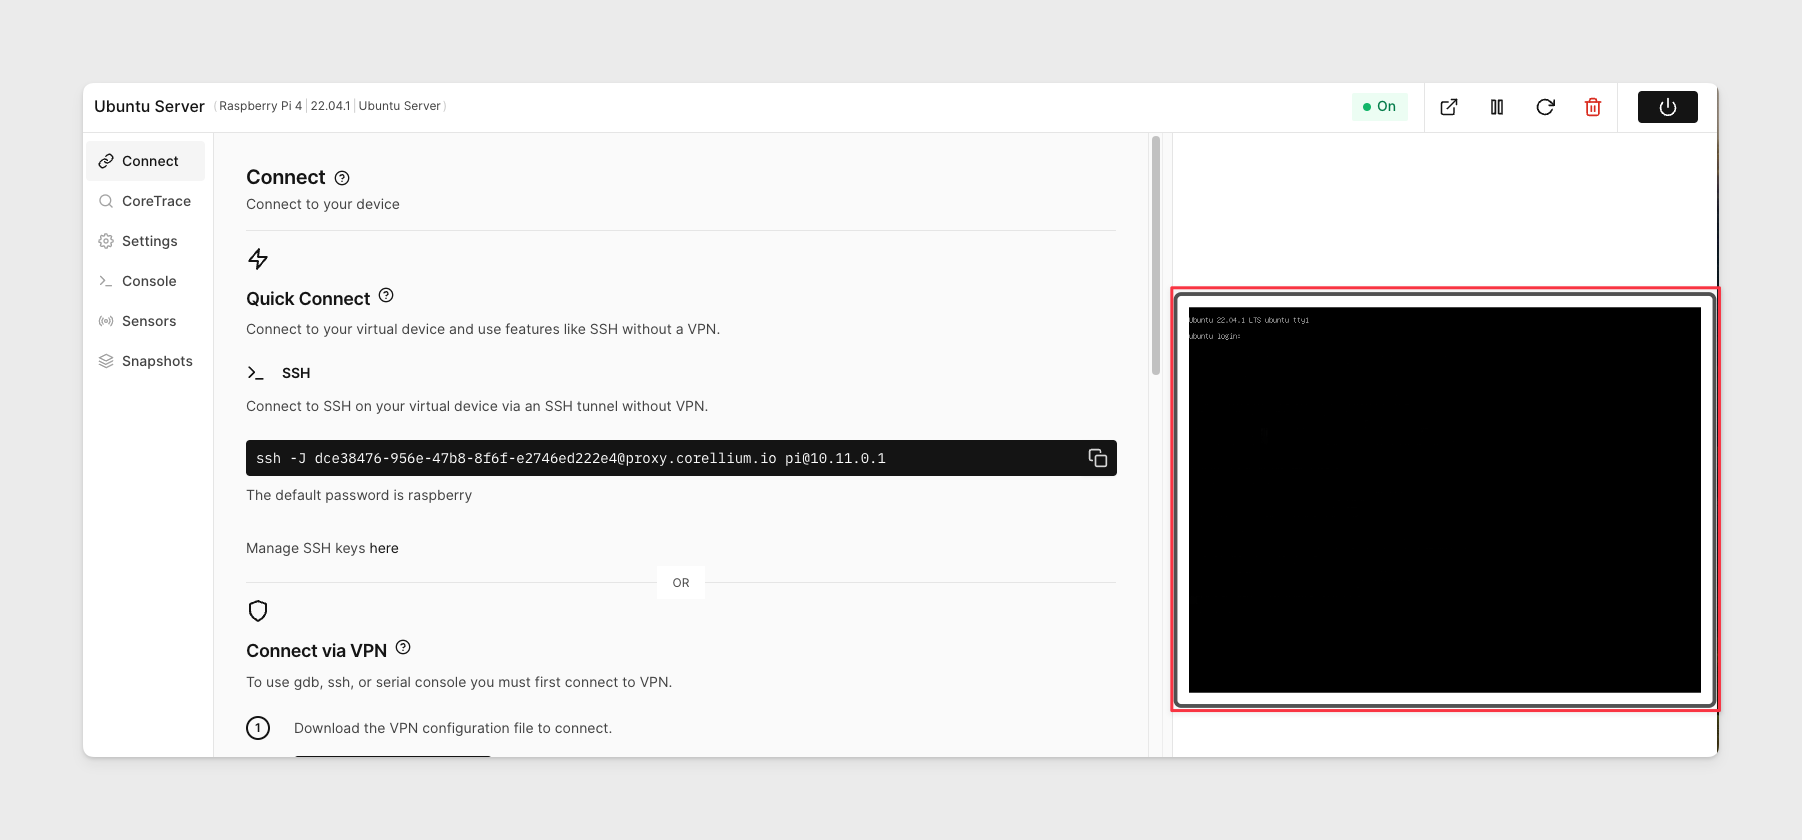
The SSH commands displayed for the virtual Raspberry Pi 5 instance under the Connect tab show information for the stock firmware. With custom package you create, you need to use the username and password created instead of the default.
Building Custom Firmware for the Raspberry Pi 5
Kernel Cross Compilation for Raspberry Pi 5
At the time of this documentation, rpi-6.6.y branch from the official Raspberry Pi Linux repository was used. This branch is known to be stable and widely used in current Raspberry Pi OS distributions.
- Install Dependencies
Run the following command to install the necessary tools and libraries required for cross-compiling the Linux kernel for Raspberry Pi 5B
sudo apt update
sudo apt install gcc-aarch64-linux-gnu git make bc bison flex libssl-dev libncurses5-dev libelf-dev build-essential
Prerequisite: Versions used at the time of this documentation
| Package | Version |
|---|---|
| gcc-aarch64-linux-gnu | 4:9.3.0-1ubuntu2 |
| git | 1:2.25.1-1ubuntu3.14 |
| make | 4.2.1-1.2 |
| bc | 1.07.1-2build1 |
| bison | 2:3.5.1+dfsg-1 |
| flex | 2.6.4-6.2 |
| libssl-dev | 1.1.1f-1ubuntu2.24 |
| libncurses5-dev | 6.2-0ubuntu2.1 |
| libelf-dev | 0.176-1.1ubuntu0.1 |
| build-essential | 12.8ubuntu1.1 |
- Clone the Linux Kernel Source
Clone the official Raspberry Pi Linux kernel repository and checkout the rpi-6.6.y branch:
git clone https://github.com/raspberrypi/linux
cd linux
git checkout rpi-6.6. y
The rpi-6.6.y branch is a stable release series maintained by the Raspberry Pi Foundation. It contains long-term supported features and the latest updates for Raspberry Pi 5 (BCM2712).
- Set Environment Variables
Set up the environment for cross-compiling the kernel for ARM64
export ARCH=arm64
export CROSS_COMPILE=aarch64-linux-gnu-
export KERNEL=kernel_2712
- Configure the Kernel
Use the default defconfig for the BCM2712 SoC (used in Raspberry Pi 5):
make bcm2712_defconfig
- Configure 4KB Page Size (Mandatory)
Start the interactive kernel config menu:
make menuconfig
Then navigate to:
Kernel Features → Page size → [*] 4KB
Select 4KB as the page size and save the configuration.
The 4KB page size is mandatory for compatibility with Corellium AVH virtual Prototype. Larger page sizes (e.g., 16KB or 64KB) will cause failures or runtime crashes on these platforms.
- Build Kernel Image, Modules, and Device Trees
Compile the kernel image, kernel modules, and DTB (Device Tree Blobs):
make Image modules dtbs -j$(nproc)
This generates the main kernel binary (Image), the device-specific configuration (dtbs), and loadable kernel modules.
- Install Kernel Modules to Output Directory
Install the kernel modules to a local output directory:
make modules_install INSTALL_MOD_PATH=output_directory
This organizes all modules under output_directory/lib/modules/ so they can be easily copied into the root filesystem.
- Copy Kernel Image and Device Tree to Output_Directory
After building, copy the compiled kernel image and device tree blob (DTB) to the output directory
cp /<path-to-linux-kernel >/linux/arch/arm64/boot/Image  /<path to output_directory >/
cp /<path-to-linux-kernel >/linux/arch/arm64/boot/dts/broadcom/bcm2712-rpi-5-b.dtb /<path-to-output_directory>/devicetree
- The Image is the compiled kernel binary for Raspberry Pi 5 (BCM2712).
- The .dtb file contains the hardware description used during boot.
Update compiled kernel in root filesystem (nand)
Step 1: Download and Prepare the Raspberry Pi OS Image
- Set the image file name variables:
IMAGE_NAME_ORIG="2023-05-03-raspios-bullseye-arm64-full.img "
IMAGE_NAME="$IMAGE_NAME_ORIG.xz"
- Download the image file if it doesn't already exist:
[ -f "$IMAGE_NAME" ] || wget "https://downloads.raspberrypi.com/raspios_full_arm64/images/raspios_full_arm64-2023-05-03/$IMAGE_NAME"
- Decompress the .xz image file:
xz -d "$IMAGE_NAME"
- Move the decompressed .img file to a directory named nand:
mv "$IMAGE_NAME_ORIG" nand
The nand file is now your working root filesystem image.
Step 2: Mount the root filesystem
The script below mounts the root filesystem (nand) to a directory named sdcard, creating two subdirectories: boot and root
- The boot directory contains the default kernel and device tree files.
- The root directory exposes the contents of the root filesystem.
Once mounted, both directories can be customized as needed.
sudo ./nand_mount_umount.sh mount nand
- This script must be run in the directory where the nand file is located.
- The nand_mount_umount.sh script is provided in section 6.1 nand_mount_umount.sh script.
Step 3: Update Kernel and Modules in the Root Filesystem
After building the kernel and then mounting the nand, the root filesystem, copy the compiled kernel modules and the kernel image into their respective locations inside the mounted image:
sudo cp -r <path to output_directory>/lib/modules/* sdcard/rootfs/usr/lib/modules/
sudo cp <path to output_directory>/Image sdcard/boot/kernel8.img
- The kernel modules are placed in usr/lib/modules inside the root filesystem.
- The kernel image (Image) is renamed as kernel8.img to match the expected boot file name used by Raspberry Pi bootloader.
Step 4: Unmount the Root Filesystem
Once your customizations (such as kernel modules and kernel image updates) are complete, unmount the root filesystem using the script provided. This will safely detach the mounted image and prepare it for repackaging.
sudo ./nand_mount_umount.sh umount nand
The nand_mount_umount.sh script is provided below. Make sure you run this command in the directory where the nand file is located.
Step 5: Create the Custom Firmware Package
After unmounting, package the customized contents into a new firmware .zip file. This file will be uploaded to Arm Virtual Hardware.
Copy the compiled kernel and device tree to the packaging directory:
sudo cp <path-to-output-directory>/Image kernel
sudo cp <path-to-output-directory>/devicetree devicetree
Create the firmware ZIP package:
zip rpi5-12.0-desktop.zip kernel devicetree Info.json nand
- The Image file is your compiled Linux kernel for Raspberry Pi 5.
- The devicetree file is typically bcm2712-rpi-5-b.dtb.
- Info.json can be reused from an existing firmware package or generated as per the format shown in the section 6.2 Info.json file.
- Once the rpi5-12.0-desktop.zip file is created, upload it using the Web UI as described in 2. Quickstart for Raspberry Pi 5B.
Firmware Scripts
nand_mount_umount.sh script
#!/bin/bash
set -e  # Exit immediately if a command exits with a non-zero status
# Usage information
usage() {
    echo "Usage: $0 [mount|umount] <image_file>" >&2
    exit 1
}
# Check for correct number of arguments
if [ $# -ne 2 ]; then
    usage
fi
# Get the operation (mount or umount) and image file
operation="$1"
IMG_FILE="$2"
# Check if the argument is either 'mount' or 'umount'
if [[ "$operation" != "mount" && "$operation" != "umount" ]]; then
    usage
fi
# Function to mount the NAND image
mount_nand() {
    # Create sdcard directory if it doesn't exist
    [ -d sdcard ] || mkdir sdcard
    pushd sdcard
    # Set up loopback device
    LO="$(losetup -f)"
    losetup -P "${LO}" "../${IMG_FILE}"
    # Mount the boot partition
    mkdir -p boot
    mount "${LO}p1" boot
    # Mount the rootfs partition
    mkdir -p rootfs
    mount "${LO}p2" rootfs
    echo "NAND image mounted successfully."
    popd
}
# Function to unmount the NAND image
umount_nand() {
    pushd sdcard
    # Unmount and remove boot directory
    if mountpoint -q boot; then
        umount boot
        rm -rf boot
    fi
    # Unmount and remove rootfs directory
    if mountpoint -q rootfs; then
        umount rootfs
        rm -rf rootfs
    fi
    popd
    rm -rf sdcard
    # Remove the partition mappings and detach the loop device
    kpartx -d "${LO}"
    losetup -d "${LO}"
    echo "NAND image unmounted and cleaned up."
}
# Execute the appropriate action based on the operation
if [ "$operation" == "mount" ]; then
    mount_nand
elif [ "$operation" == "umount" ]; then
    umount_nand
fi
Info.json
{
  "UniqueIdentifier": "Raspberry Pi OS Desktop",
  "Type": "iot",
  "DeviceIdentifier": "rpi5",
  "Version": "12.0.0",
  "Build": "desktop"
}