Quickstart for Arm FVPs
This page guides you through the steps for creating and using an instance with Arm Fixed Virtual Platforms.
Create Your FVP Device Using the Web Interface
To create your device, do the following:
-
Log in to AVH with your Arm account at https://app.avh.corellium.com. If you do not have an Arm account you can register here.
-
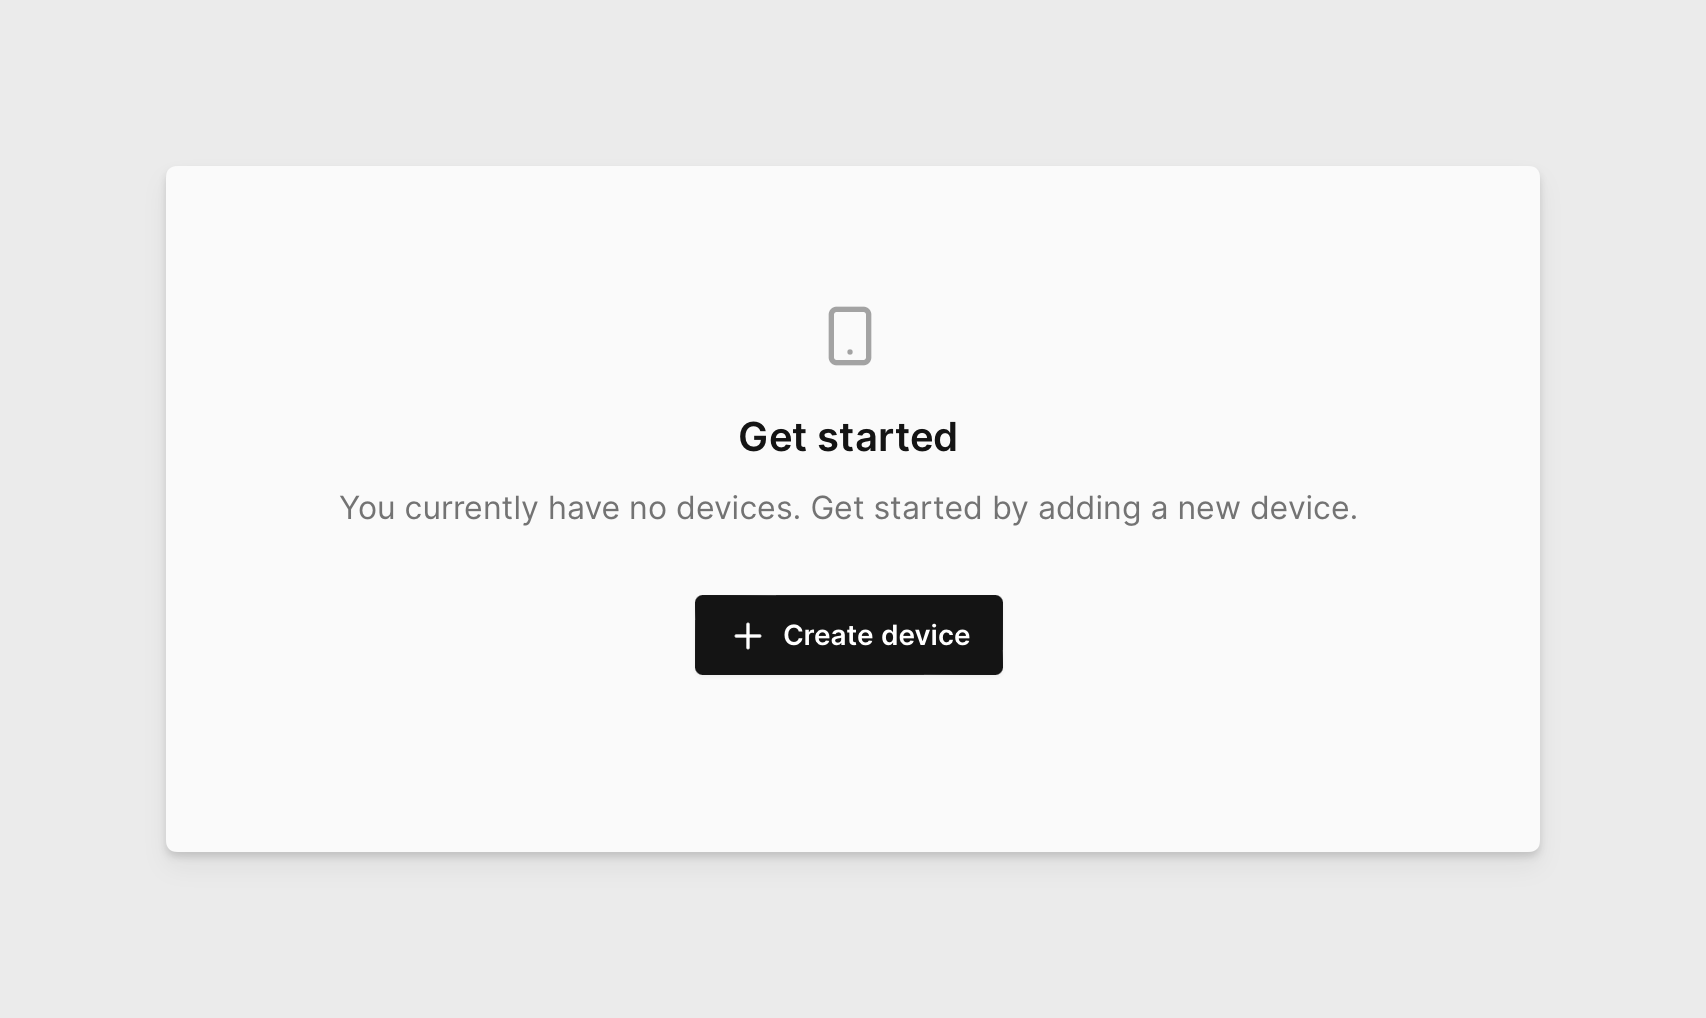
After login you should land on Devices page. There click CREATE DEVICE:
-
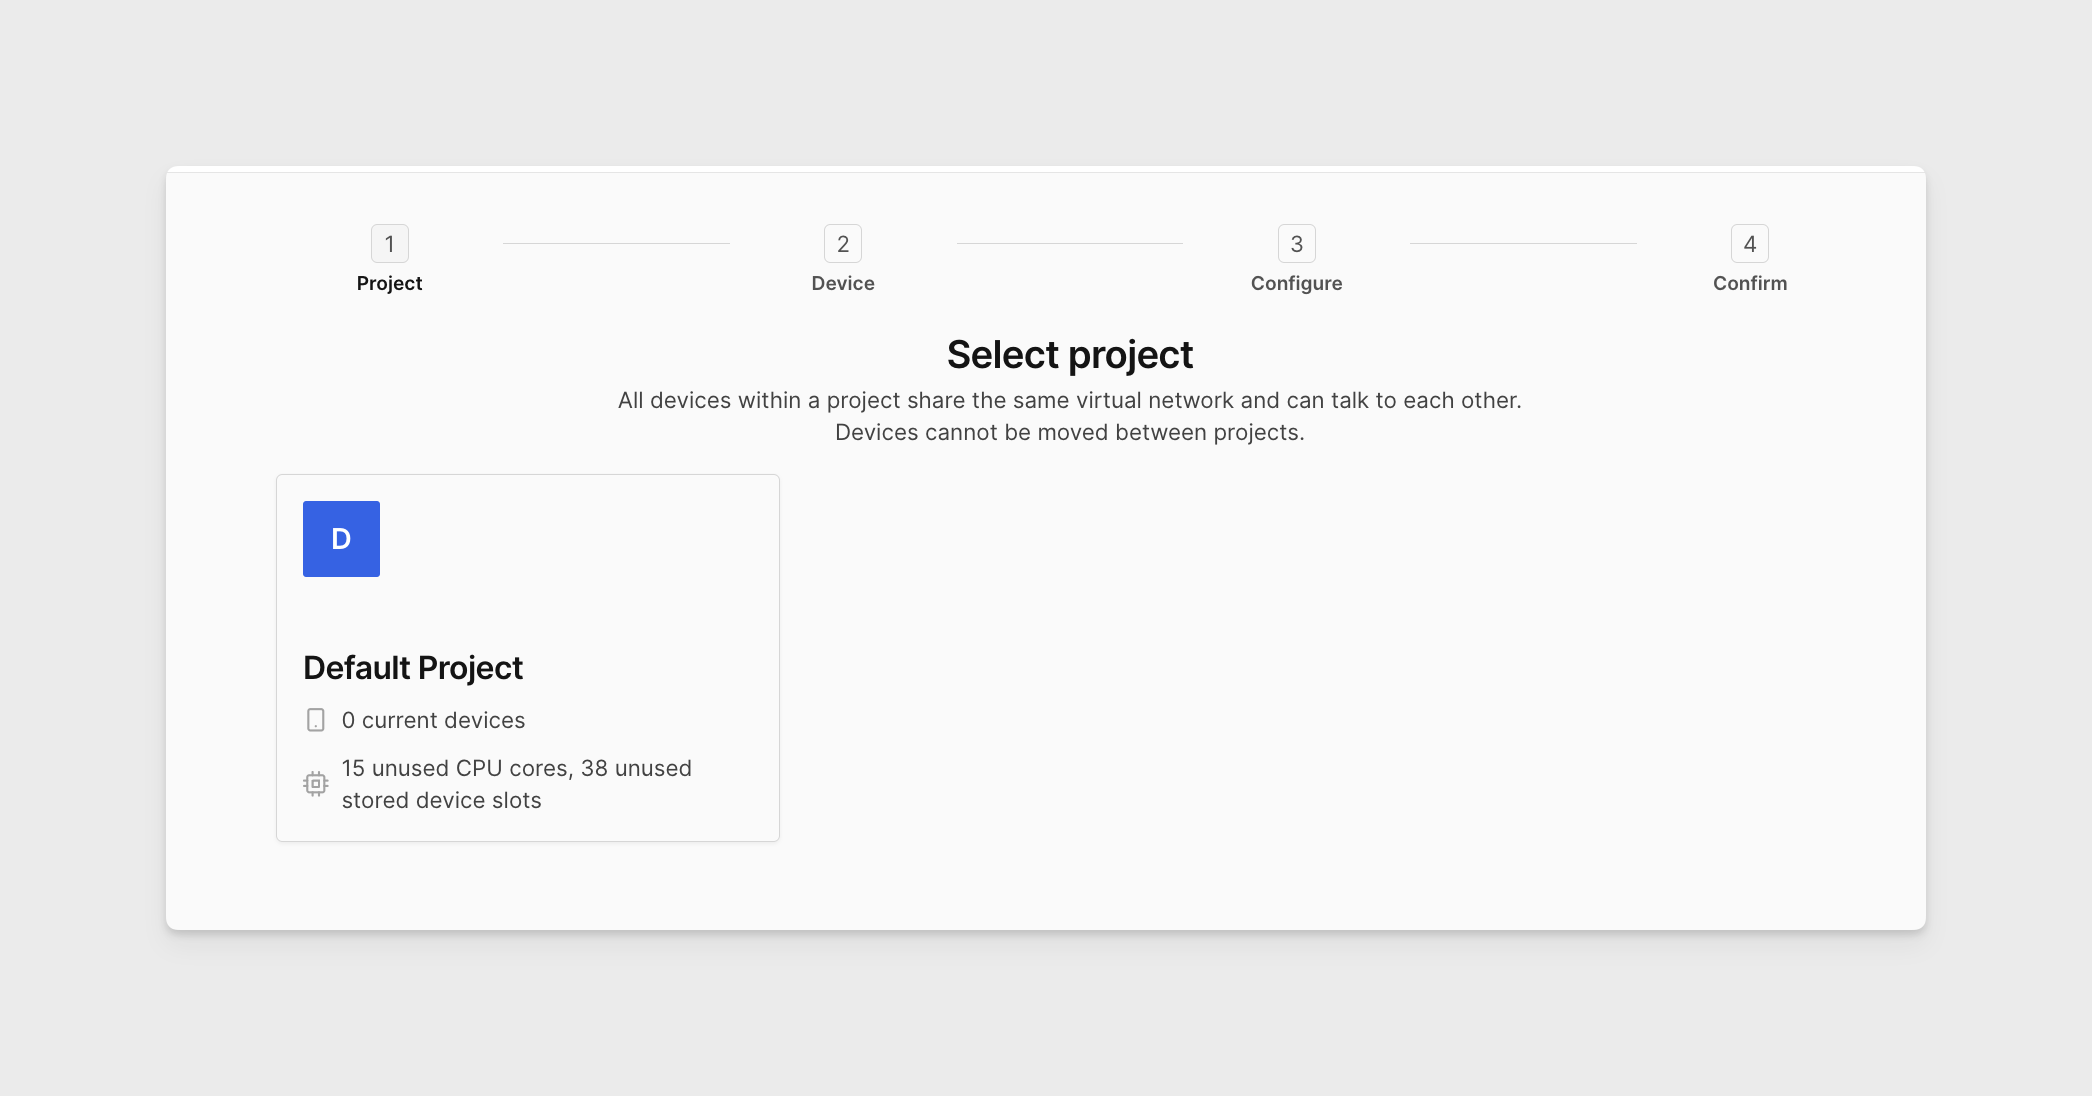
Select your project.
-
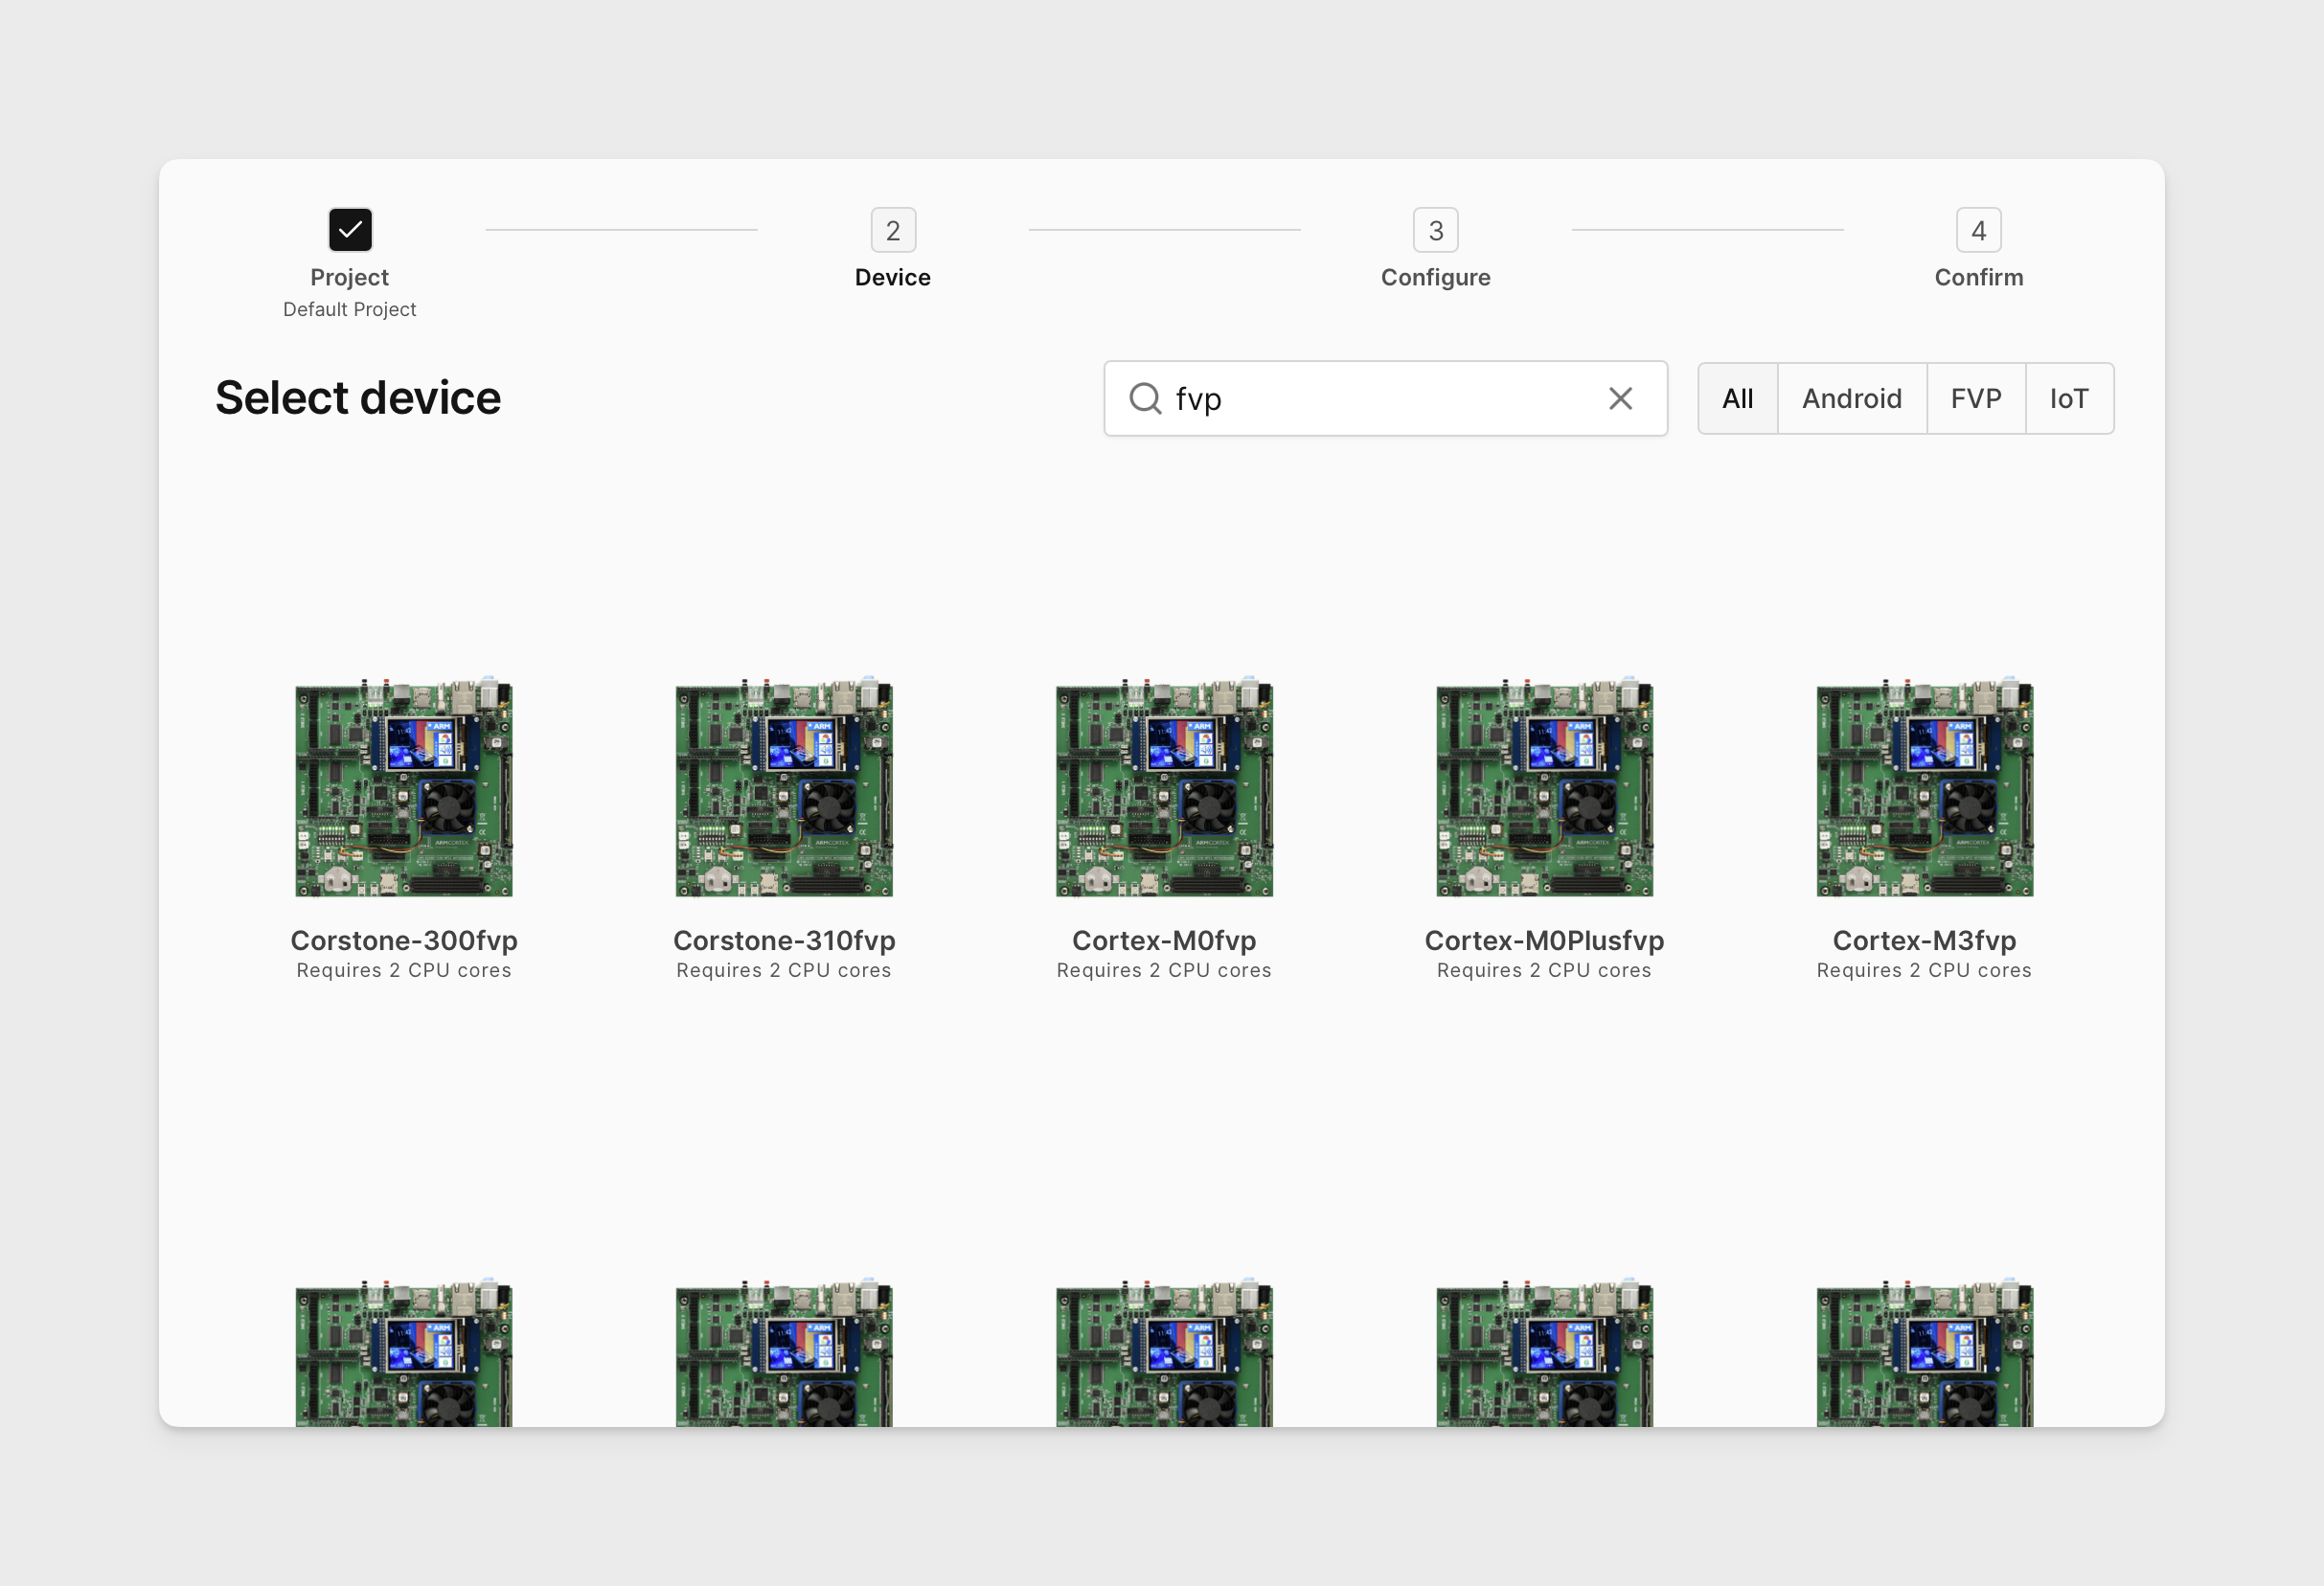
On the Select Device view, type "fvp" into the search bar then click on your preferred FVP board. In our example we choose Corstone-300fvp.
 note
noteYou can narrow down the list of displayed boards by selecting the category tab on the top-right side between | ALL | ANDROID | FVP | IOT. The FVP models can be found under FVP and ALL tabs.
-
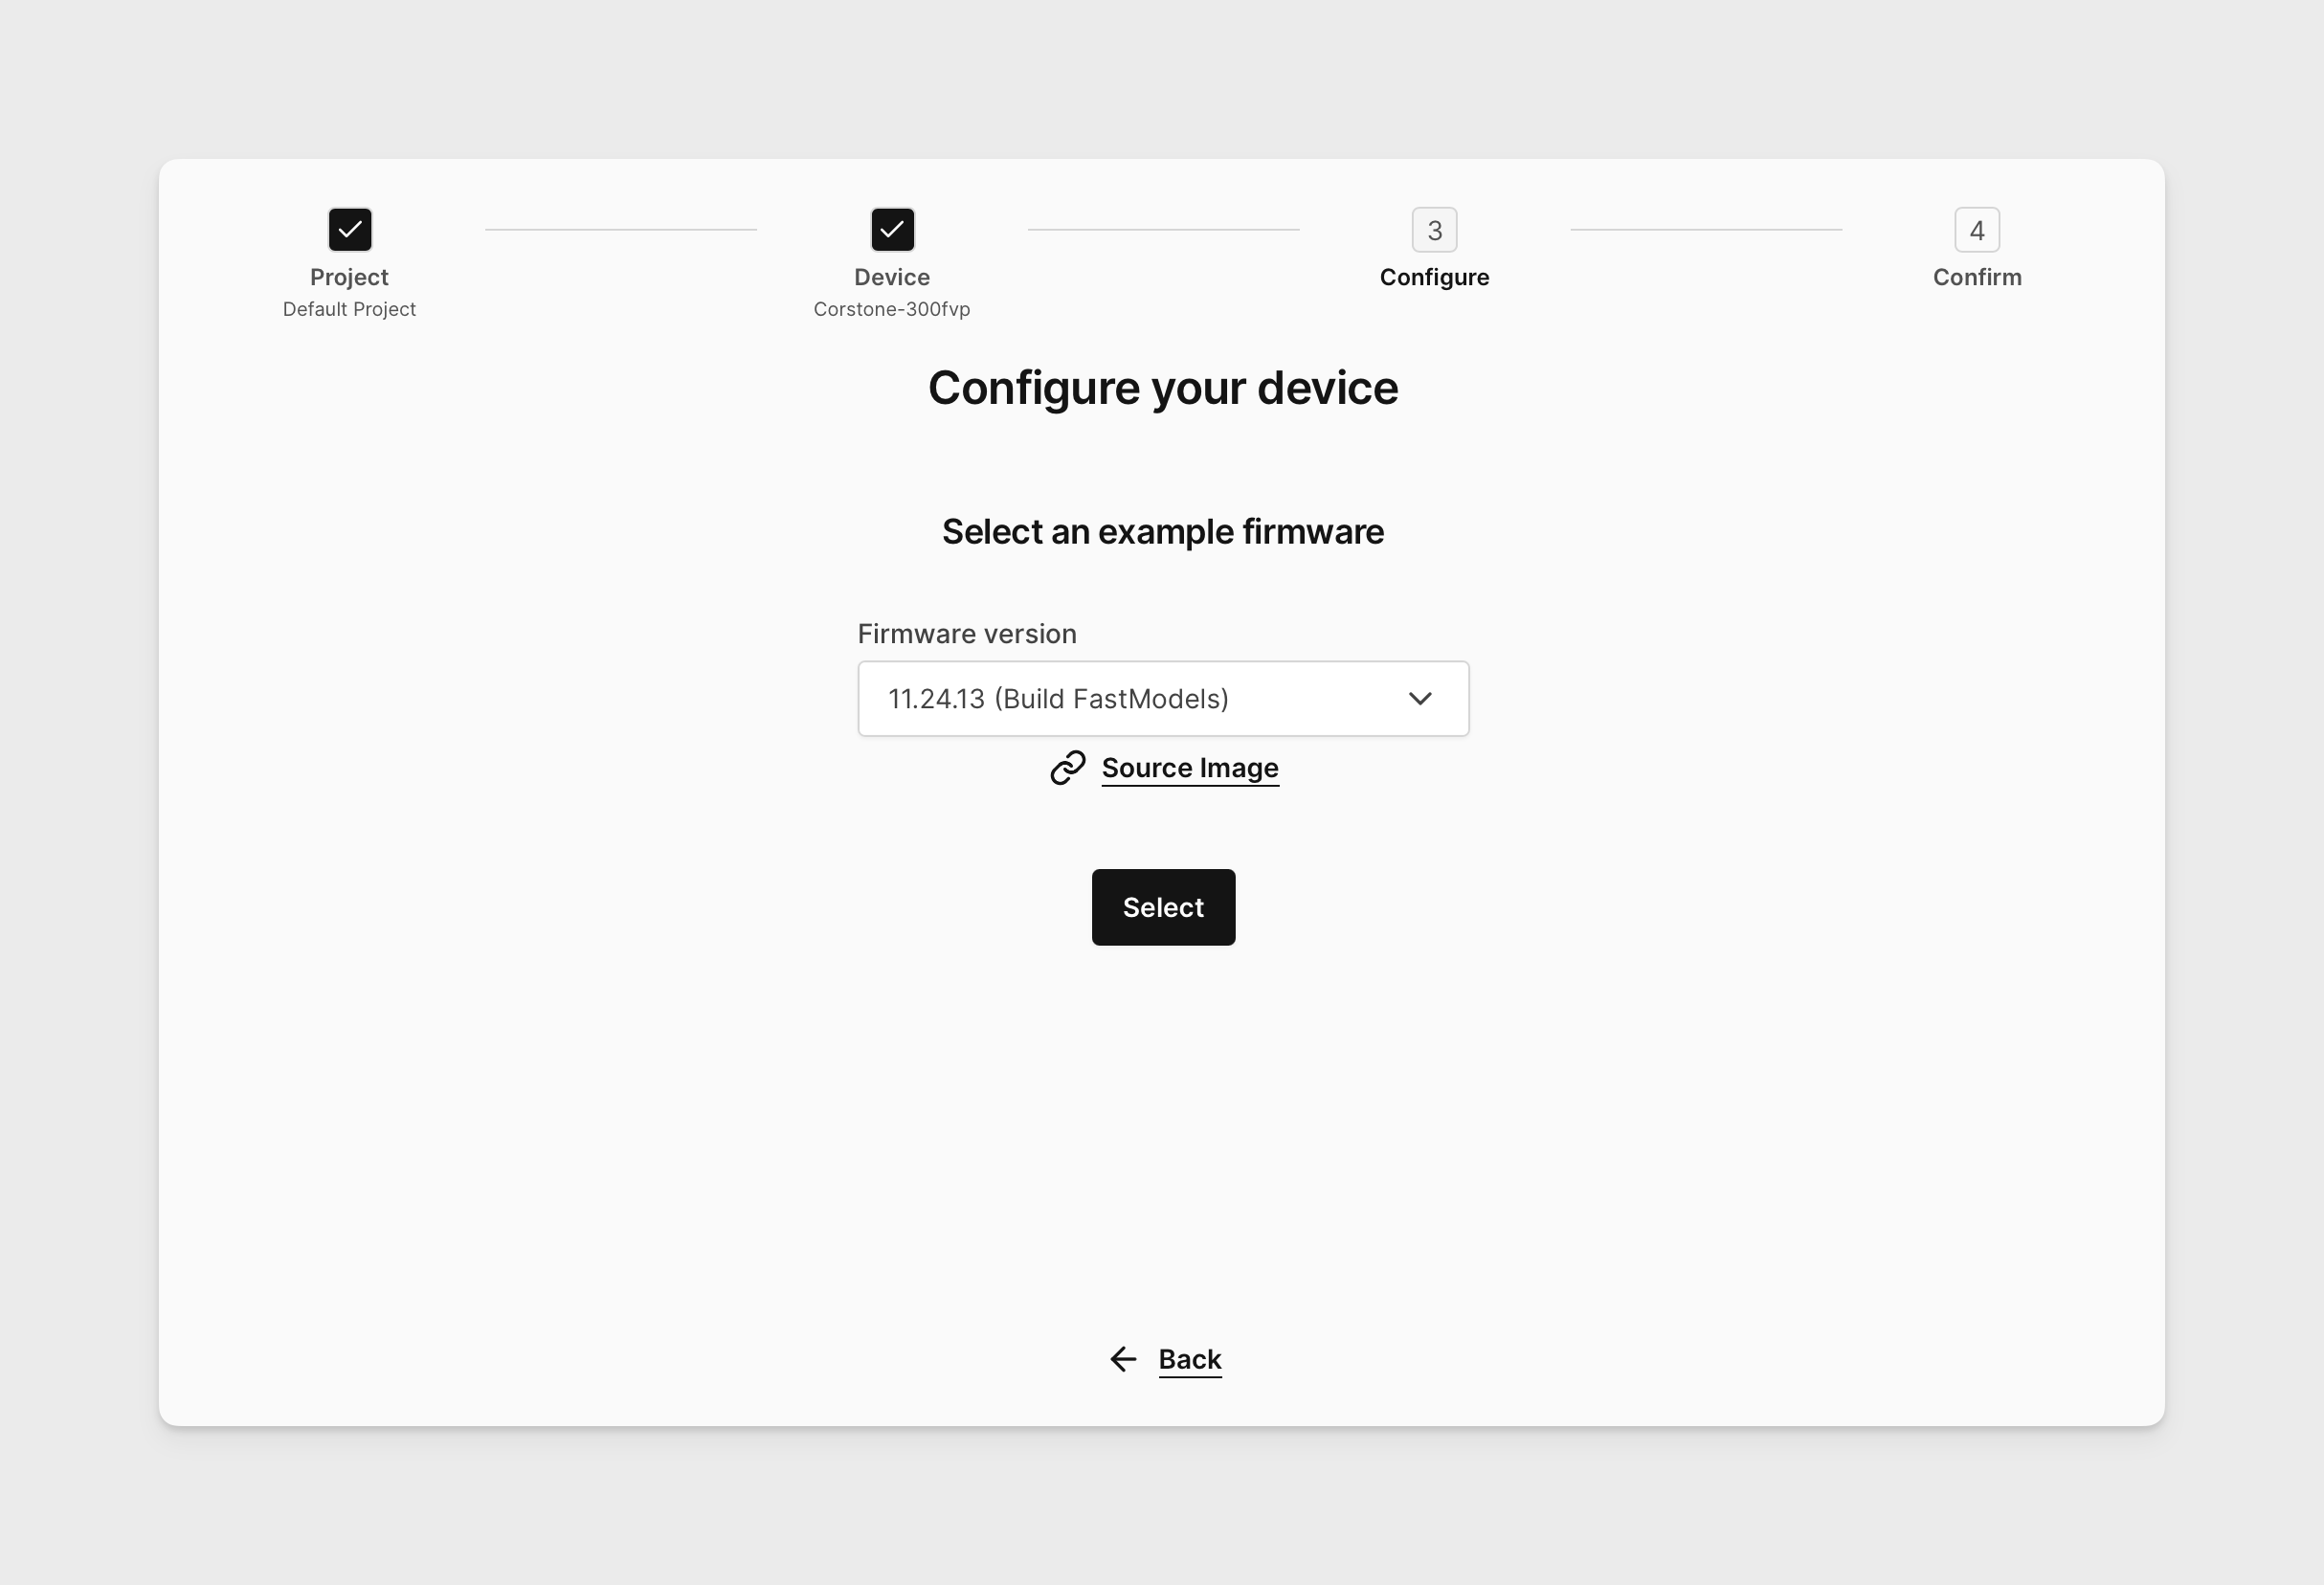
On the page Configure your device, choose the default firmware and click SELECT. FVP targets are started on a virtual machine with Linux OS that is used as the stock firmware image. Uploading new firmware will overwrite that image and corrupt the simulation.
-
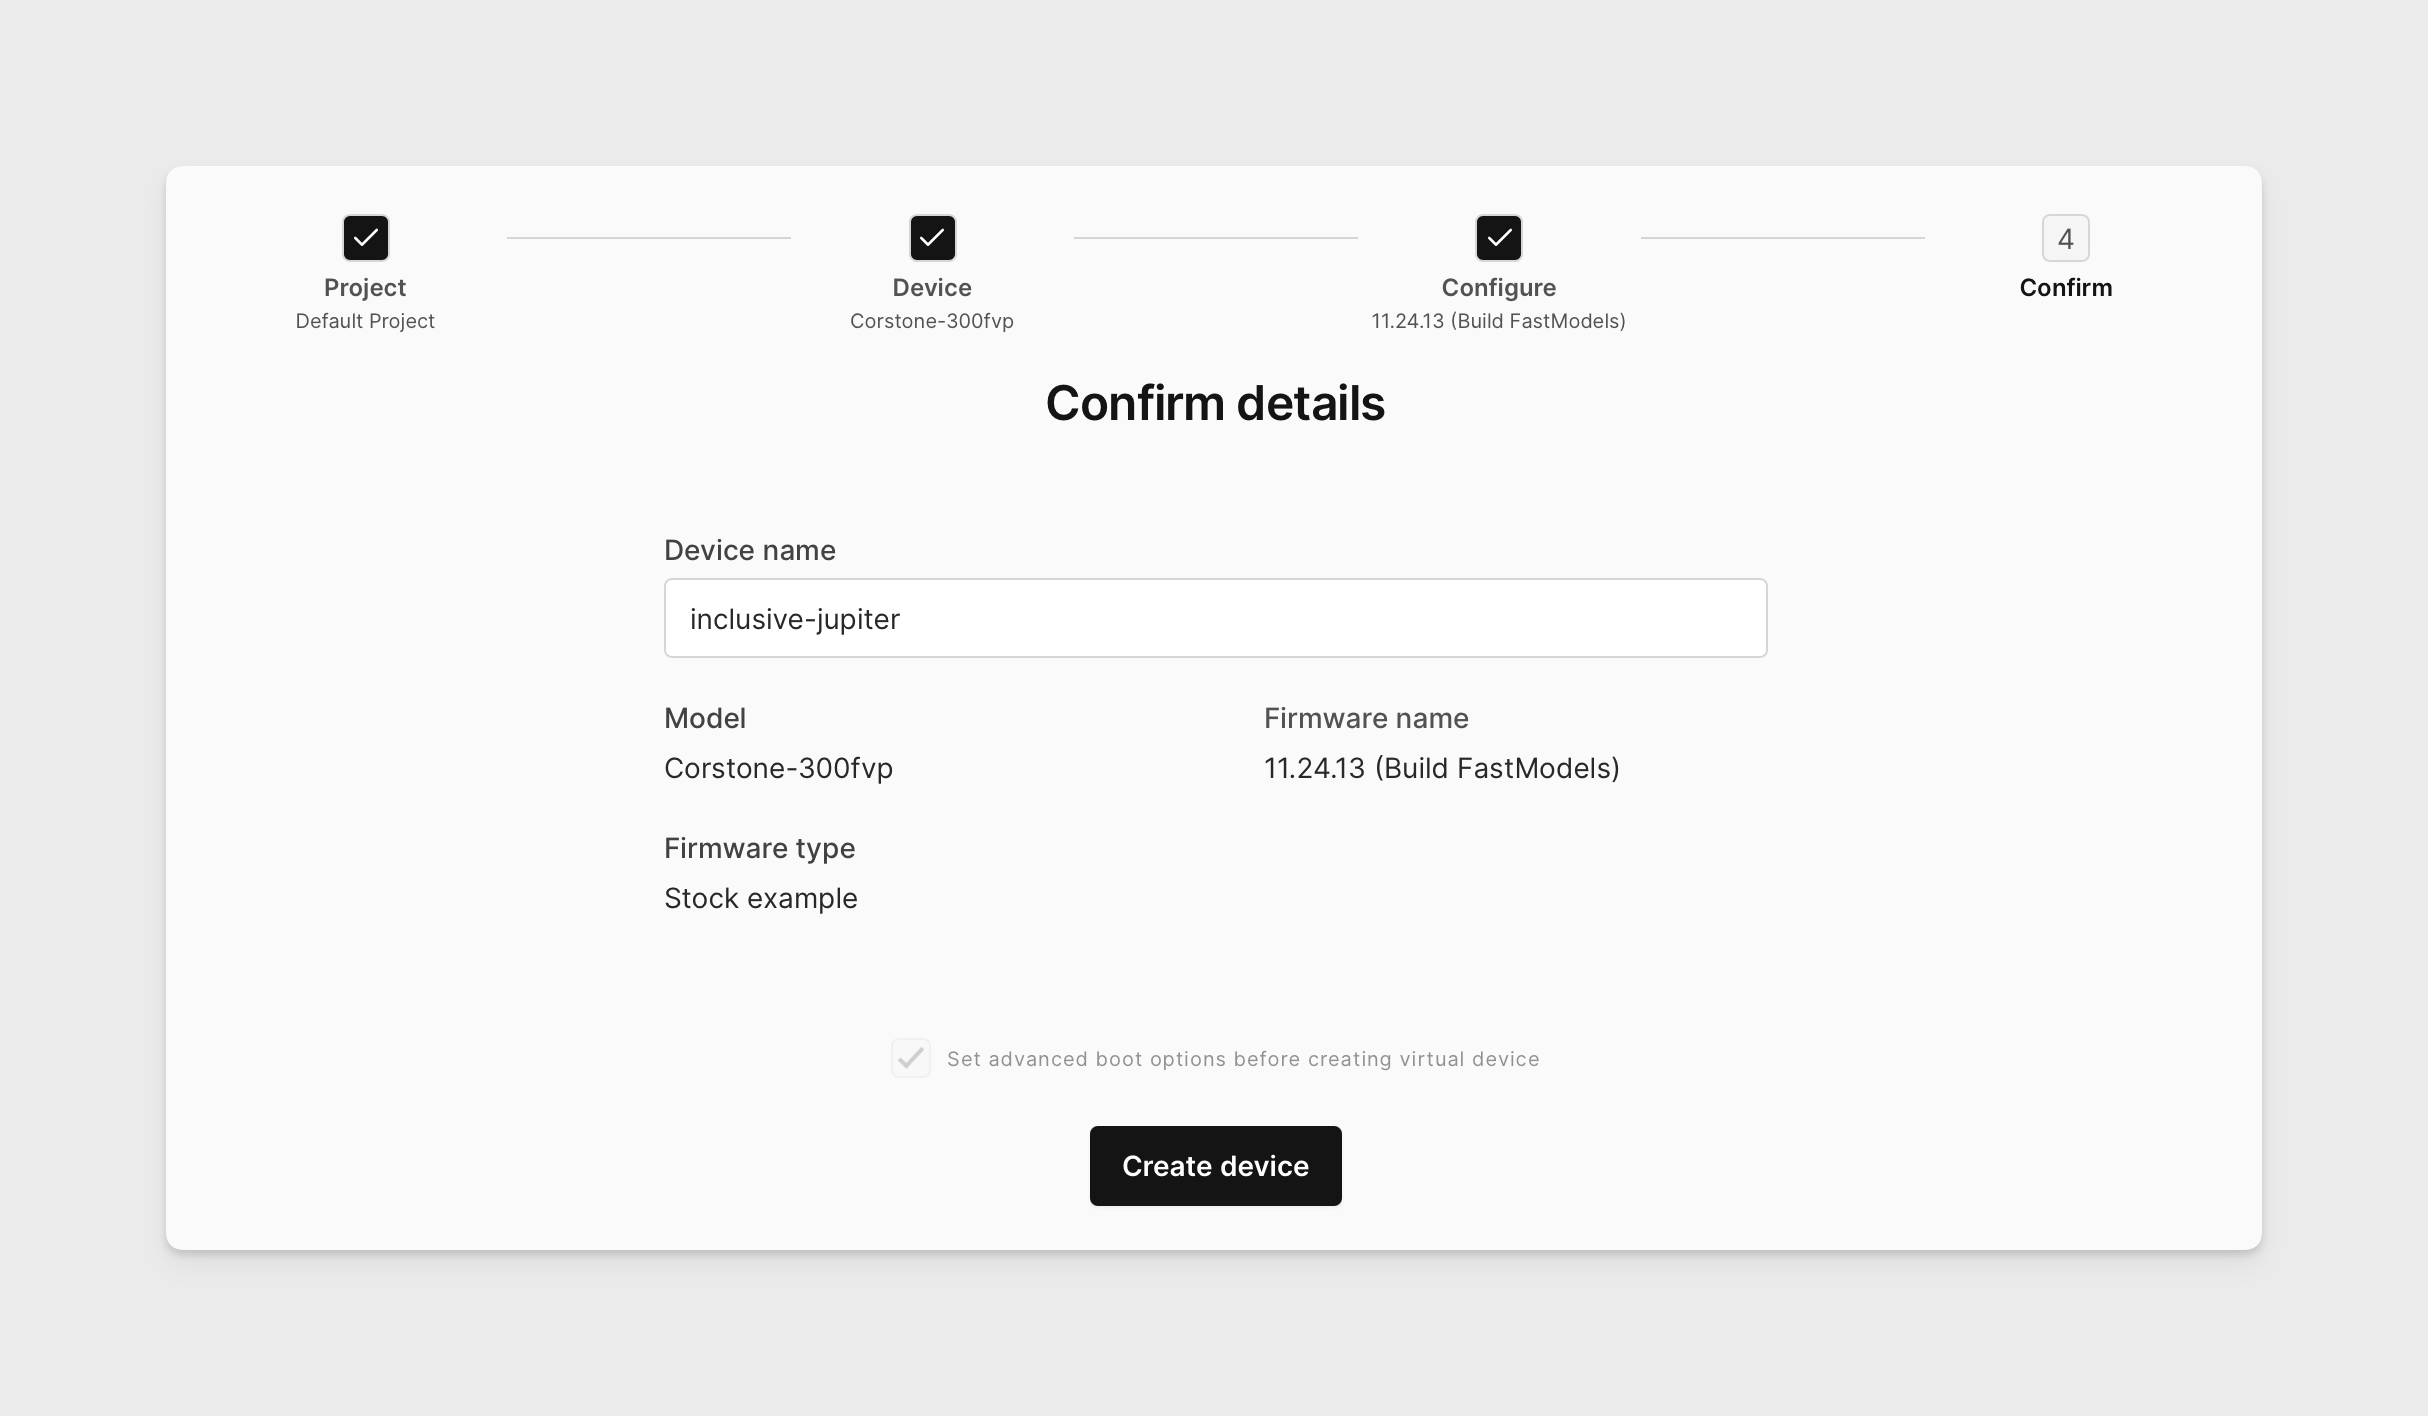
On the Confirm Details screen you can specify the device name and verify your selections. Click CREATE DEVICE.
-
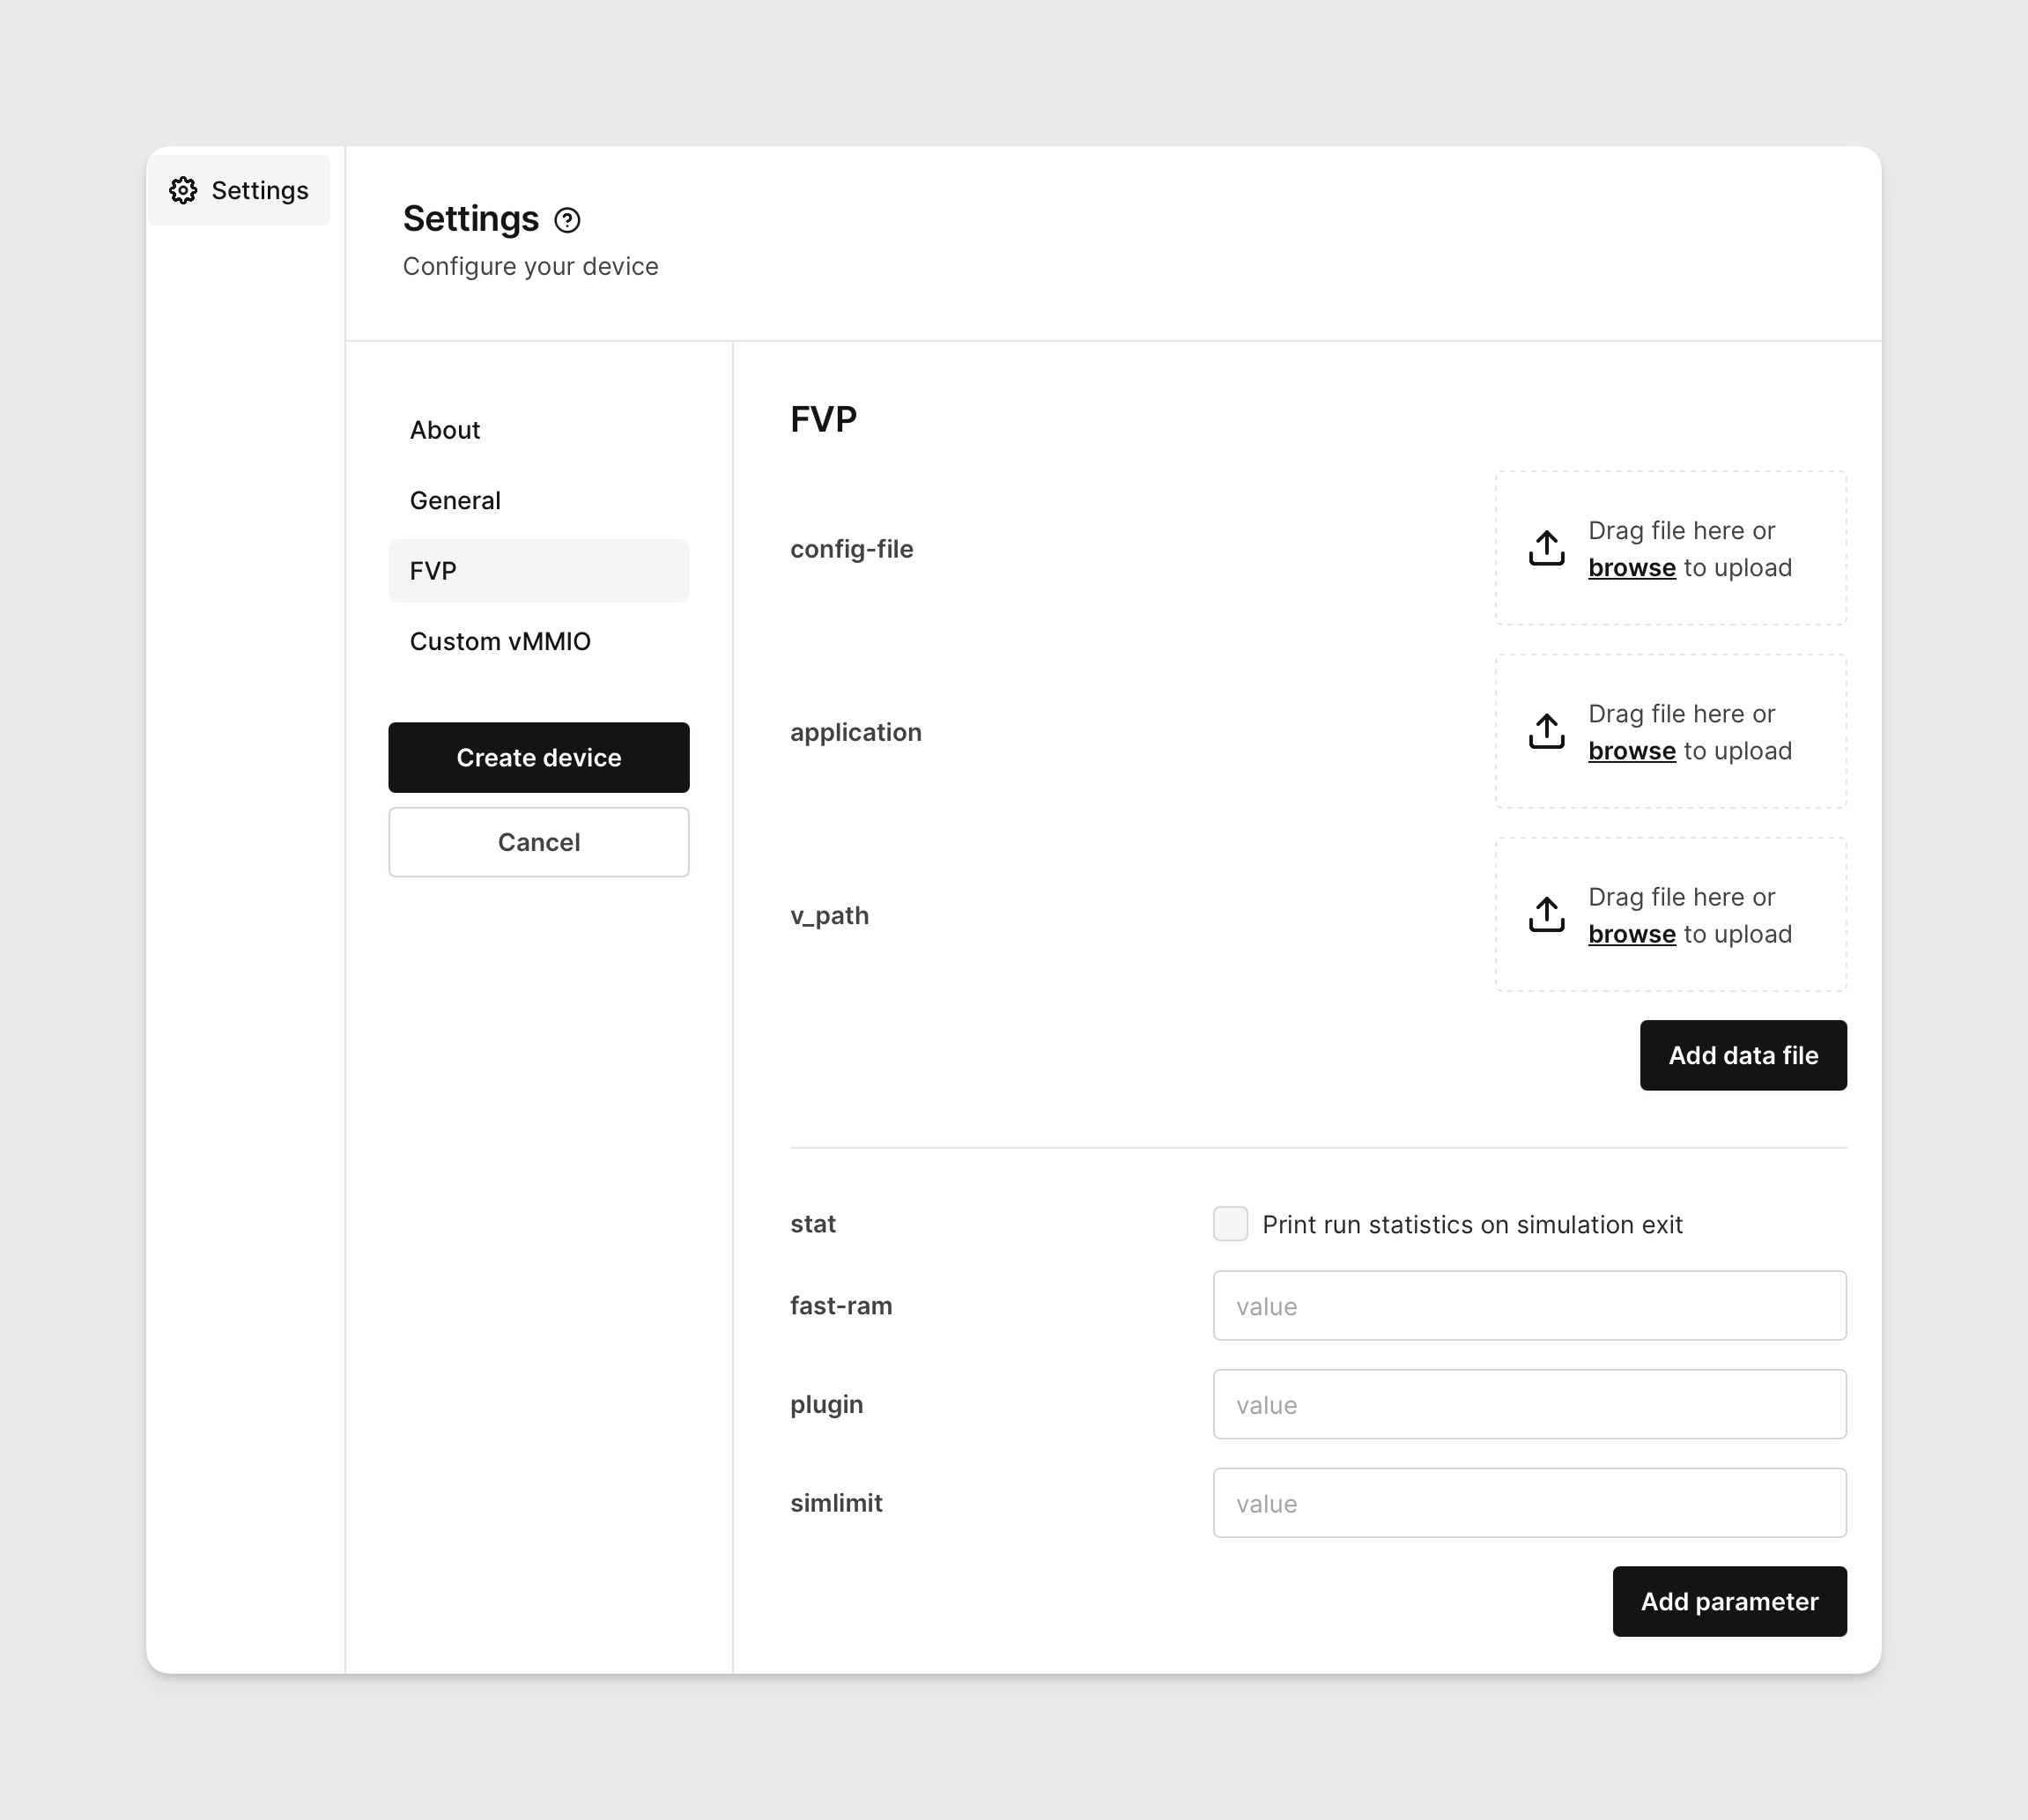
In Settings navigate to the FVP subsection.
-
Upload your application binary in
axfformat for the target FVP. We will use a simple Blinky example from the Corstone-300 CMSIS-Pack.You can use this same window to upload a configuration file (
config-file) or upload the content used for Virtual Interfaces (v_path). For more information on using these options, see the AVH FVP GitHub page.Confirm that the files have been uploaded successfully and click CREATE DEVICE.
-
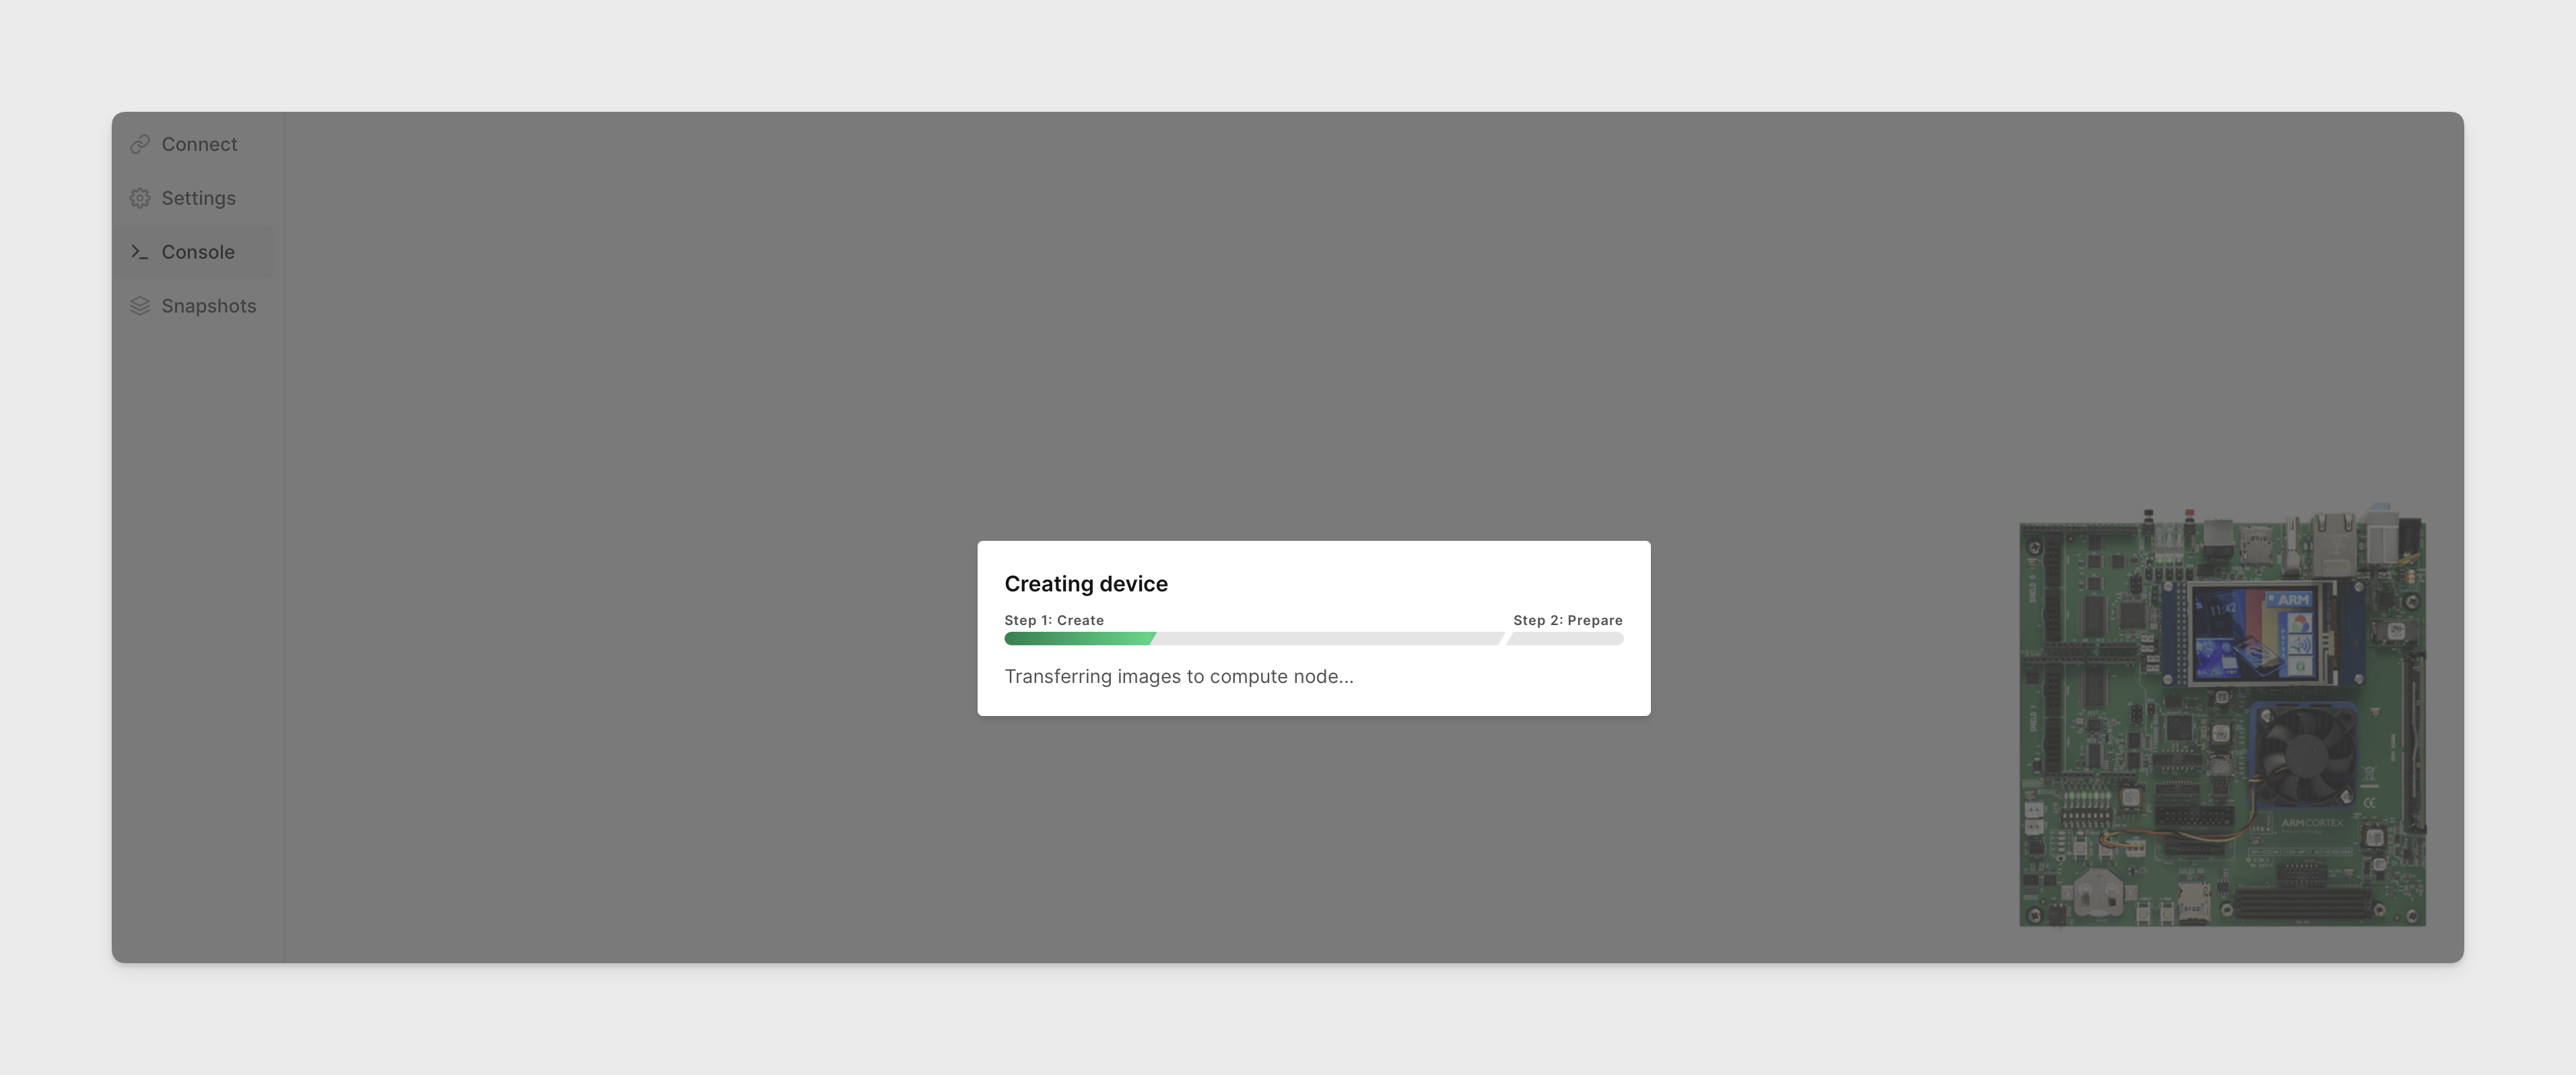
Wait a few minutes for the virtual device to become ready.
-
Your FVP device is now ready to go!
Running the example
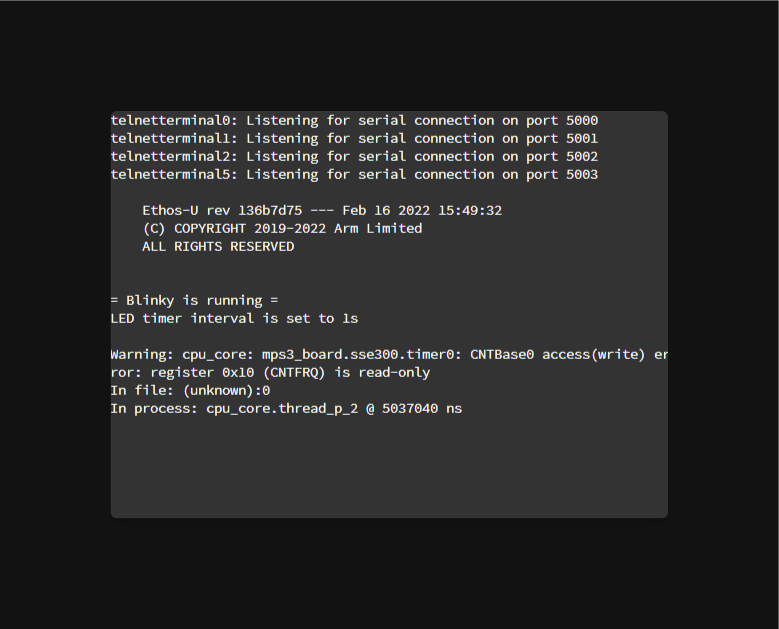
The application uploaded in the previous step gets executed on the target FVP.
-
Click Console tab in the device's menu, if it is not open by default. You shall see a serial console output of the FVP.
-
Click System Console tab in device's menu. This gives you access to the host Linux OS where FVP is executed. Log in with the username
ubuntuand passkeypassword. You can execute the FVP from command line, as well as upload new firmware binaries and download log files directly from this environment.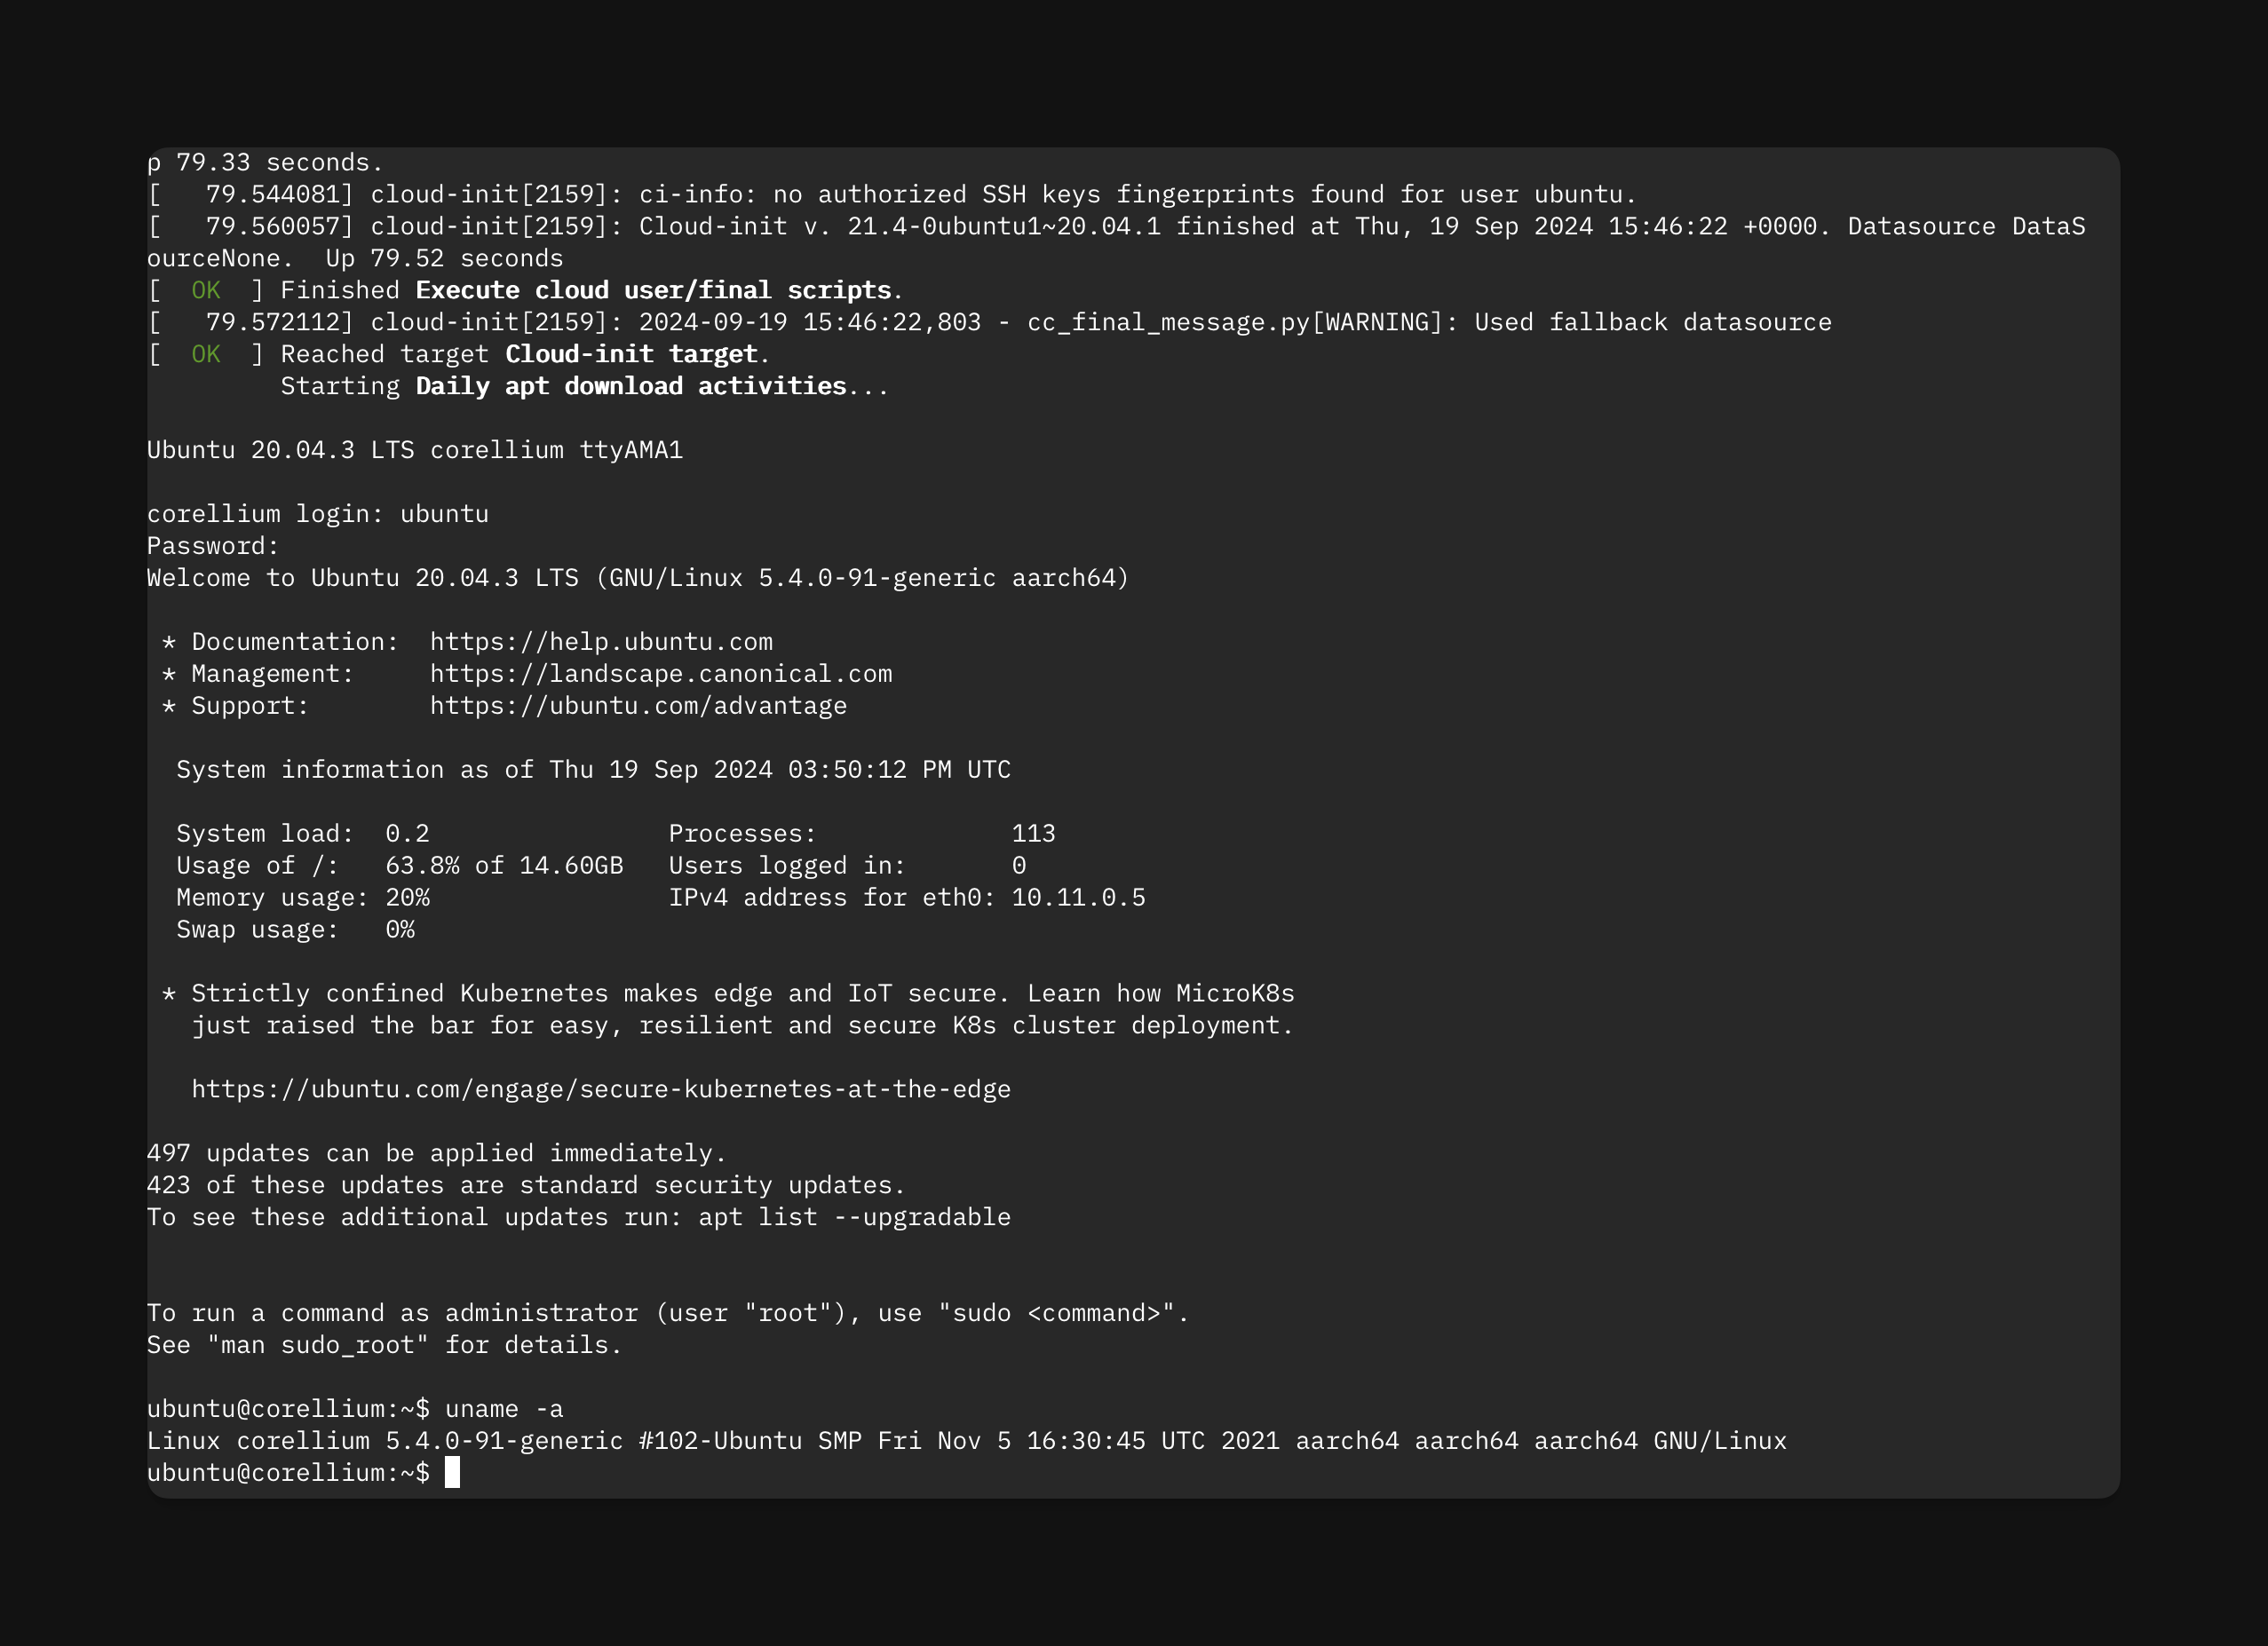
Create Your FVP Device Using the API
We offer APIs in several languages. Below is an example of how to create an FVP device using the Python and Javascript APIs.
Python API Example
Here is an example script to create the custom device using our Python API:
import os

from avh_api import ApiClient as AvhApiClient
from avh_api import Configuration as AvhApiConfiguration
from avh_api.api.arm_api import ArmApi as AvhApi

avh_api_token = os.environ['AVH_API_TOKEN']

avh_api_config = AvhApiConfiguration()
avh_api_client = AvhApiClient(avh_api_config)

avh_api = AvhApi(avh_api_client)

avh_api_config.access_token = avh_api.v1_auth_login(
    {"api_token": avh_api_token}
).token

default_project_id = avh_api.v1_get_projects()[0]["id"]

print('default_project_id =', default_project_id)

config_file_id = avh_api.v1_create_image(
  'vmfile',
  encoding='plain',
  name='config-file',
  project=default_project_id,
  file=open('path/to/config.txt', 'rb')
).id

print('config_file_id = ', config_file_id)

application_id = avh_api.v1_create_image(
  'vmfile',
  encoding='plain',
  name='application',
  project=default_project_id,
  file=open('path/to/binary.elf', 'rb')
).id

print('application_id = ', application_id)

instance_id = avh_api.v1_create_instance({
  "name": "Corstone-300 FVP",
  "project": default_project_id,
  "flavor": 'corstone-300fvp',
  "os": '11.16.14',
  "osbuild": 'FastModels',
  "boot_options": {
    "vmfile": [
        {
            "id": config_file_id,
            "name": "config-file",
        },
        {
            "id": application_id,
            "name": "application",
        }
    ]
  }
}).id

print('instance_id = ', instance_id)
JavaScript API Example
Here is an example script to create the custom device using our JavaScript API:
const vmfiles = [
    { name: 'config-file', localFilePath: path.join(__dirname, 'path/to/fvp_config.txt') },
    { name: 'application', localFilePath: path.join(__dirname, 'path/to/binary.axf') },
    { name: 'v_path', localFilePath: path.join(__dirname, 'path/to/python.zip') },
    { name: 'data1', localFilePath: path.join(__dirname, 'path/to/data.dat') }
]

const images = await Promise.all(vmfiles.map(vmfile => {
  return project.uploadVmfile(vmfile.localFilePath, vmfile.name)
}))

instanceCreateOptions.bootOptions = {
  vmfile: images,
  fvp: {
    cyclelimit: '768000000',
    data: [
      '/home/ubuntu/data1'
    ]
  }
}

instance = await project.createInstance(instanceCreateOptions)